A Few of My Favorite iPhone Photo Apps
/The iPhone4 came to Sprint literally just in time for Emir and I to leave on our cross-country UNtour. (Our pre-ordered phones were delivered while I was shooting a wedding on Friday, just a day-and-a-half before we left town on Sunday—phew!) We dove right in and discovered a few various apps that have since become go-to favorites. Here's a quick overview. Instagram: This app is hands-down my favorite photo sharing app. In addition to being a social network all its own, Instagram also has it's own built-in filters/effects that make it easy to have fun with your images before posting them to share with the world. I also like that I can post directly from Instagram to Facebook and Twitter as well.
I'm not a fan of using Instagram to capture the photos though, as the built-in camera app leaves much to be desired. But it definitely is my app of choice for posting to the world.
Are you an Instagram lover? Connect with me! My user name is kplicanic.
PS: Instagram doesn't have a desktop interface, but you can use desktop apps like Statigram to view your feed on your desktop (though I'm yet to find a desktop app that lets you post to Instagram).

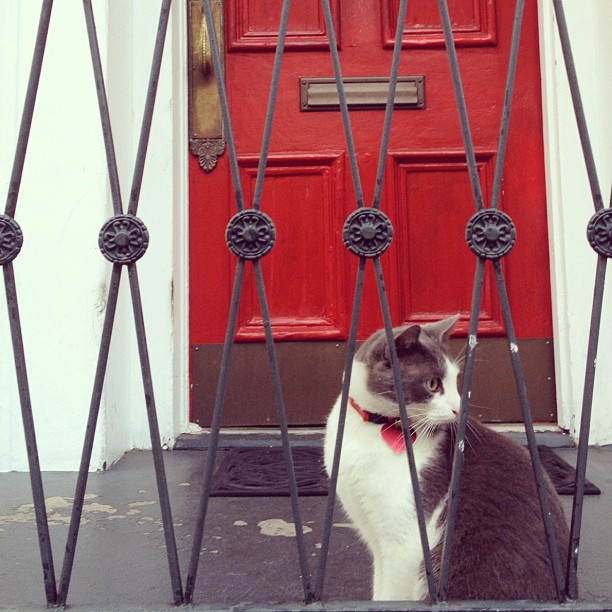
 SnapSeed:
This is my favorite app for actually editing the photos I take on my phone. It takes a moment to figure out how it works, but it is AWESOME.


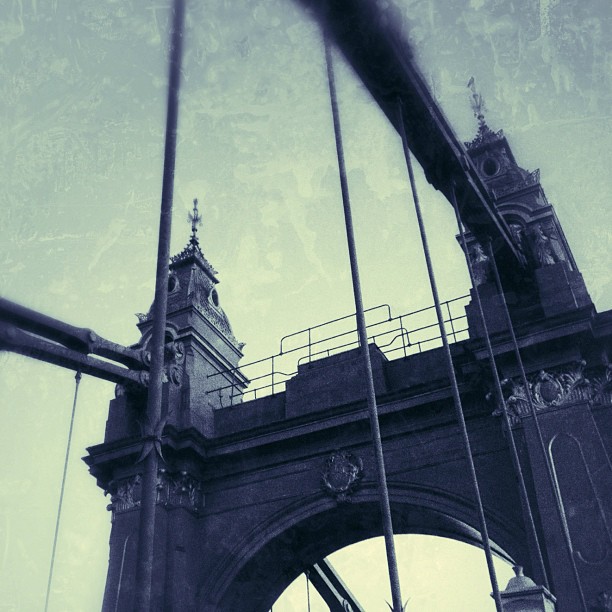
DipTic: This is the app I use for most of my iphone collages. It's super easy to use and produces nice clean grids in a variety of layouts.



Camera Awesome: A simple app, Camera Awesome is a great replacement for Apple's built-in Camera app. Some people like Camera+ for the added control it gives you, but I have found it to be cumbersome and very frustrating to work with (not to mention that I don't care for the design of the interface).
Conversely, Camera Awesome does a great job of allowing you touch screen control over separate points for both your focus and your exposure, which isn't possible in Apple's built in Camera app.
Camera Awesome offers some processing options too, which is always fun. Having literally just downloaded the app, I haven't had the chance to play with them all yet, but it's looking promising. I'm guessing that this will be my go-to app at least for image capture, and possibly for processing as well.
Apple's Built-In Camera App It's not the most robust app, but when you're in a hurry, nothing beats the speed with which you can launch it. Did you know that when your phone is locked, if you just double-press the home button, you'll see the camera icon appear next to the slider bar? Sweet, right? Then, instead of dragging the slider bar to unlock your phone, you can just tap on the camera icon itself, and it will take you directly to the camera app. (This is the main reason why it's still the app I reach for first for image capture.)
UPDATE: The new iOS update has added the camera app icon directly to the unlock screen, whether your double-press or not.
Pro HDR Though I have definitely not jumped onto the HDR bandwagon, there are definitely occasions where certain images simply wouldn't be possible without it.
If you're not familiar with HDR, it stands for "High Dynamic Range." Because cameras aren't able to capture the full range of tones that we're able to see with our eyes, in scenes where there are dark shadows combined with very bright highlights, you're forced to choose which ones to capture, either the highlights, or the shadows. HDR images are created by combining two or more exposures (one for the highlights, one for the shadows) into a single image. They've gained a lot of popularity in recent years, but they generally aren't my style. But—when you find yourself in a situation that calls for a higher than usual dynamic range, Pro HDR is definitely the app to reach for!
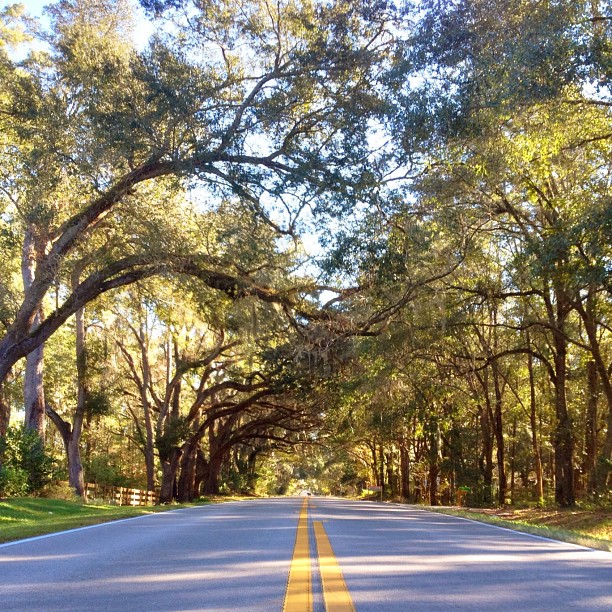
SquareReady As I already mentioned, I'm a pretty big fan of Instagram. One of the fun things about Instagram is that everything it exports is in a square format, which I'm also generally a fan of. But now and then there are some compositions that simply do not work as a square, and the only way to be able to share them in Instagram without having to crop them, is to prepare them ahead of time with something like SquareReady. It works by adding in a background as "filler" so that the whole final piece (photo + added background) is a square. Then, it's ready for Instagram!
(It's hard to see in the image below because it was "Squared" by adding a white background, but you should be able to see a faint grey border around the edge of the image. In either case, the image below illustrates this more clearly with the addition of a black background.)
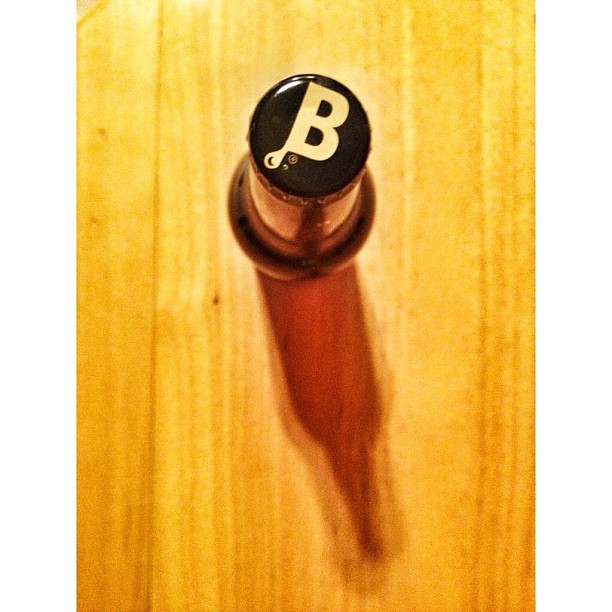
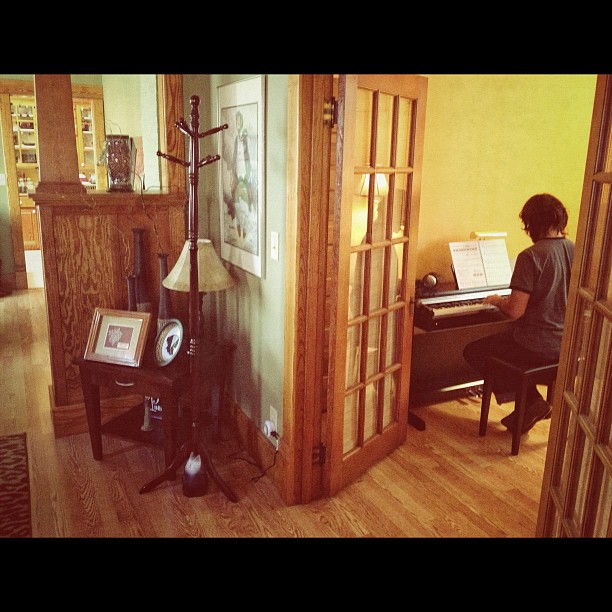
Percolator This app is just plain fun! You can use it to re-interpret your images in all kinds of various ways.
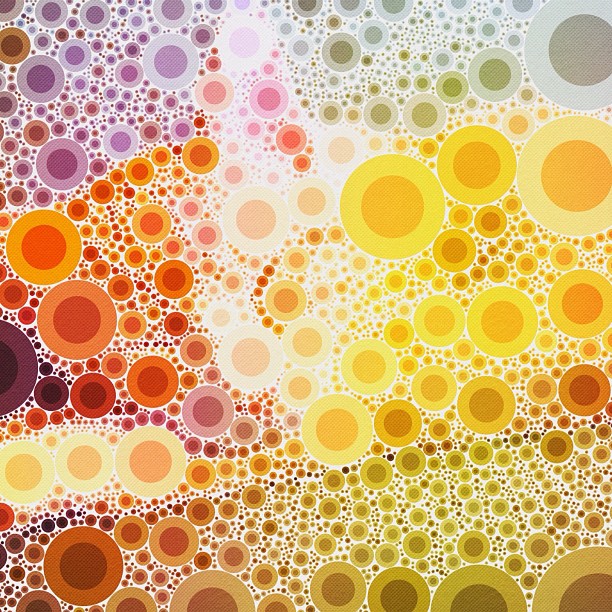
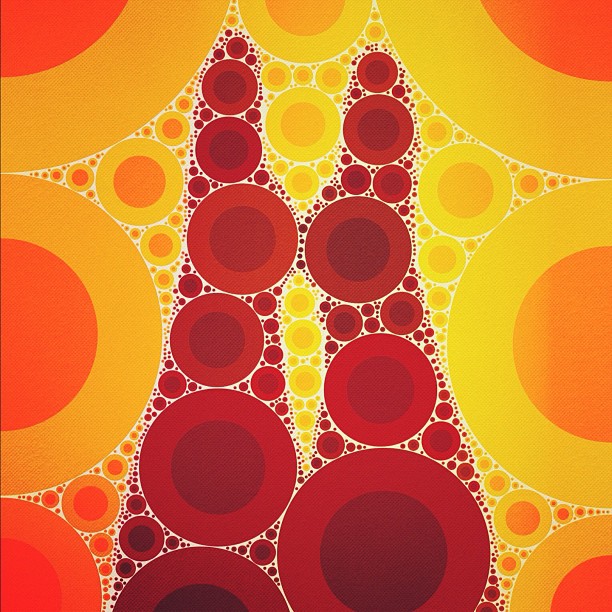
Montage This app is fun for combining bits and pieces of various photos into a single collage. It's amazing what you can pull off with just your fingers! (You'll notice that I used one of the above images created with Percolator as the background in the montage I created.)
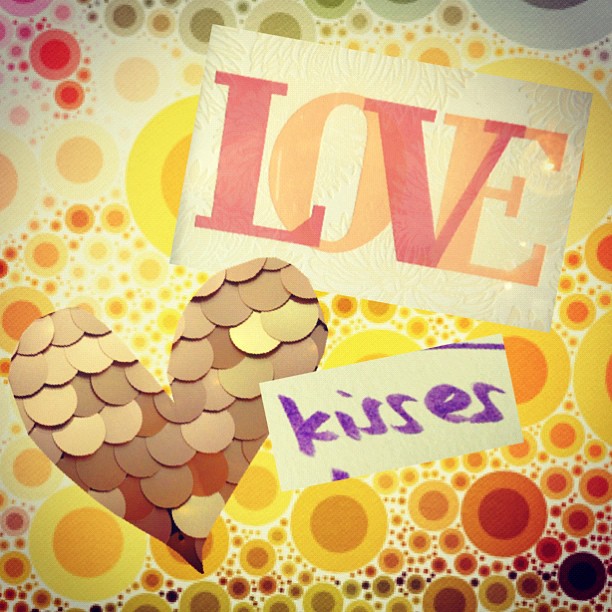
Juxtaposer Think you need your desktop to be able to remove backgrounds and combine images? Think again! This app lets you work with layers in a way that's very similar to Photoshop... all from your phone!
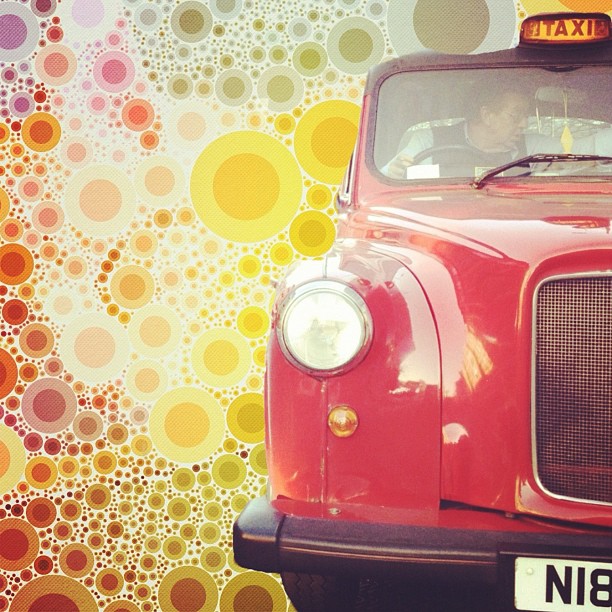
In the example below, I used the same Percolated background and added a photo of a British taxi cab that I shot while in London. (Not bad when you consider that I cut it out of the background using only my finger!)
A Word About iPhone Photo Workflow There is no right or wrong. The way you decide to work with you images will largely be decided by what kinds of images you're working with and what plans you have in store for them.
My current workflow is to capture an image on my phone using either the built-in Camera app, or the newest addition to my app collection, Camera Awesome. Then I open the image in SnapSeed, process it to my liking, save back to the Camera Roll, then share with the world via Instagram.
That said, every situation and every image is different (just like when I'm shooting professionally with my big girl camera). The more you play around, the more you'll find what works for you. Sometimes I build a grid with DipTic after using SnapSeed. Sometimes I use SnapSeed, then DipTic. And sometimes I just jump straight to Instagram.
Either way, the point is to have fun, so don't forget that! :)
Stay Tuned for Output Options! One of the things I stress in the various classes I teach is the importance of outputting our work and our memories. As awesome as it is to share our images on Facebook, Instagram, etc., for the sake of posterity, we really should be doing something more tangible. Stay tuned for a follow up post sharing some of my favorite ways to bring your iPhone photos to life!

