
How to Create an Animated Gif in Photoshop
/
Always looking for a way to combine different mediums in a single project, this animated DIY Valentine Card is the ultimate trifecta: I used Illustrator to build the design and create the SVG cut files for my Cricut cutting machine, I used InDesign to create the instructional PDF that comes with the purchase of the cut files, and I used Photoshop to generate the animated GIF used to promote the whole thing. It sounds fancy, but you’ll be surprised how simple it is.
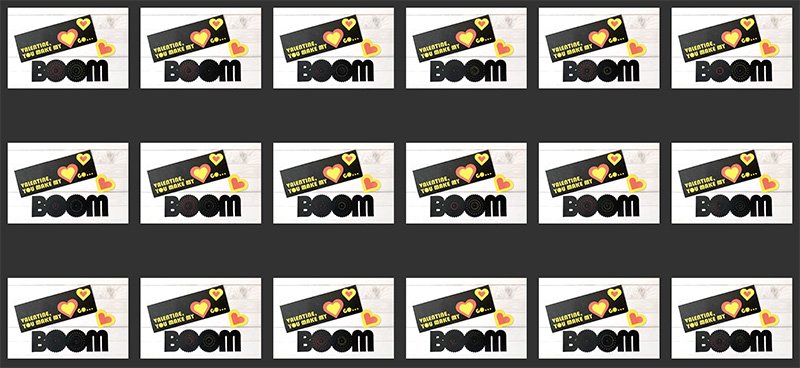
I began with a series of still shots captured on my phone using a camera stand. Between each of the photos, I rotated the wheels slightly, then took another photo.
Bringing all of these into a single document in Photoshop can be a fully automated process. Simply choose File > Scripts > Load Files Into Stack, select the images you want to include, enable the option for automatically aligning images, and click OK.
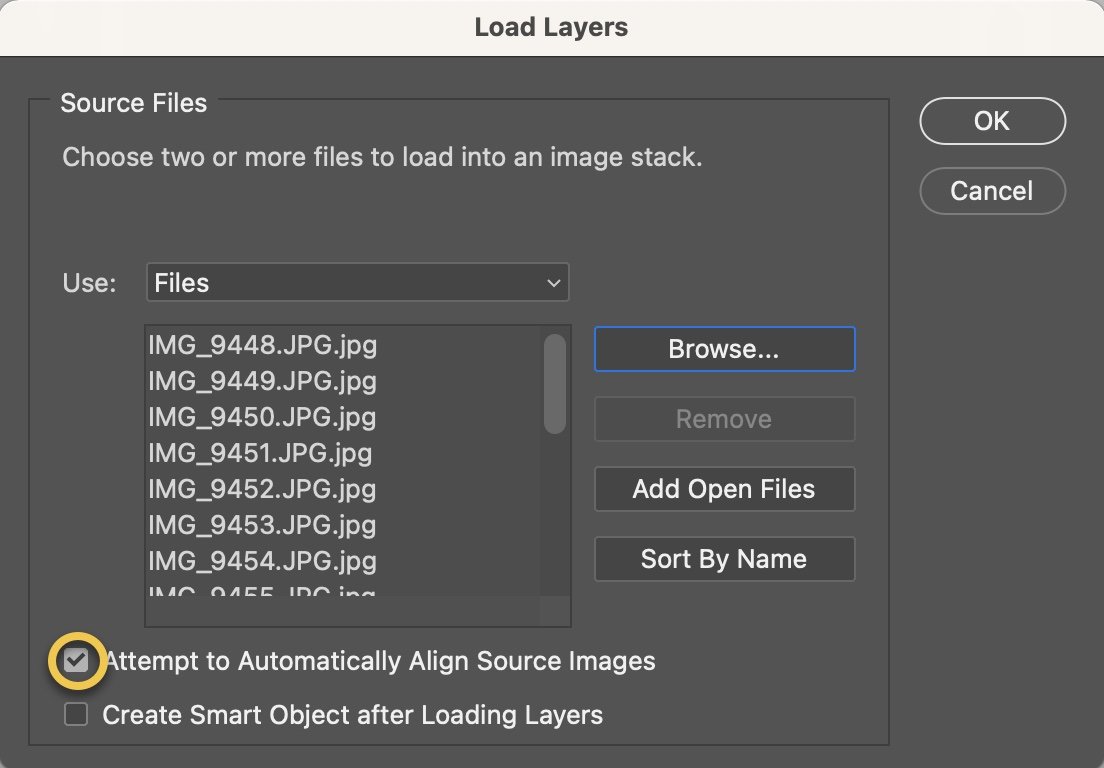
Photoshop will bring in each of the images on a separate layer, analyzing each one and aligning them. All that’s left is to convert each of the layers into an animation frame which is again, automated.
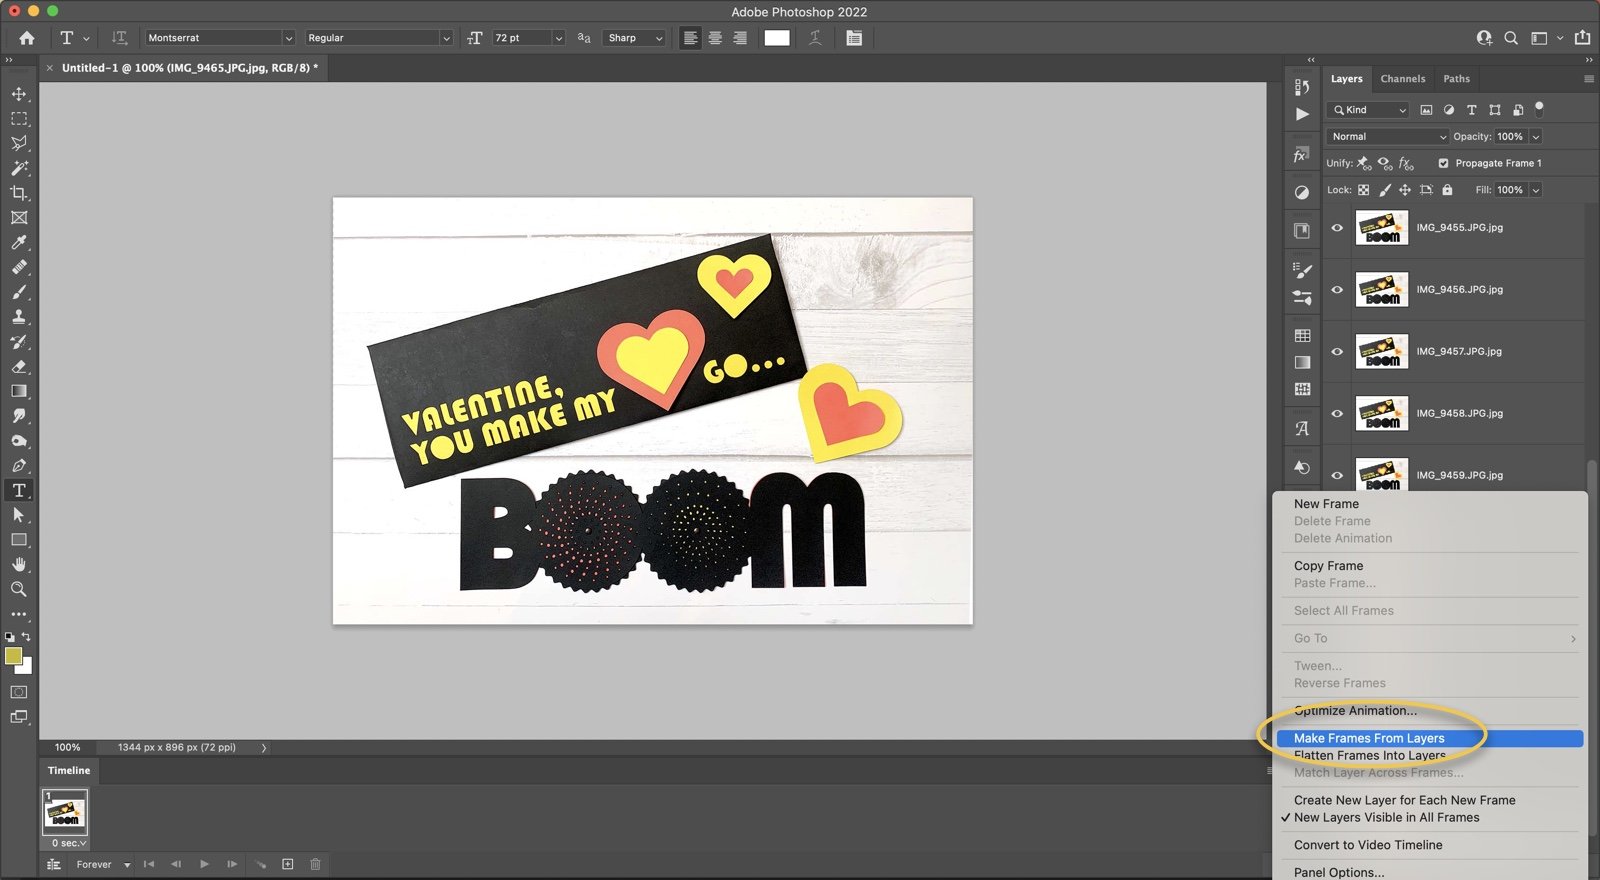
The first step is to open the Timeline by choosing Window > Timeline. Then, click the button that says Create Frame Animation. Finally, to have Photoshop generate a new frame from each layer, head to the Timeline panel’s menu and select Make Frames From Layers.
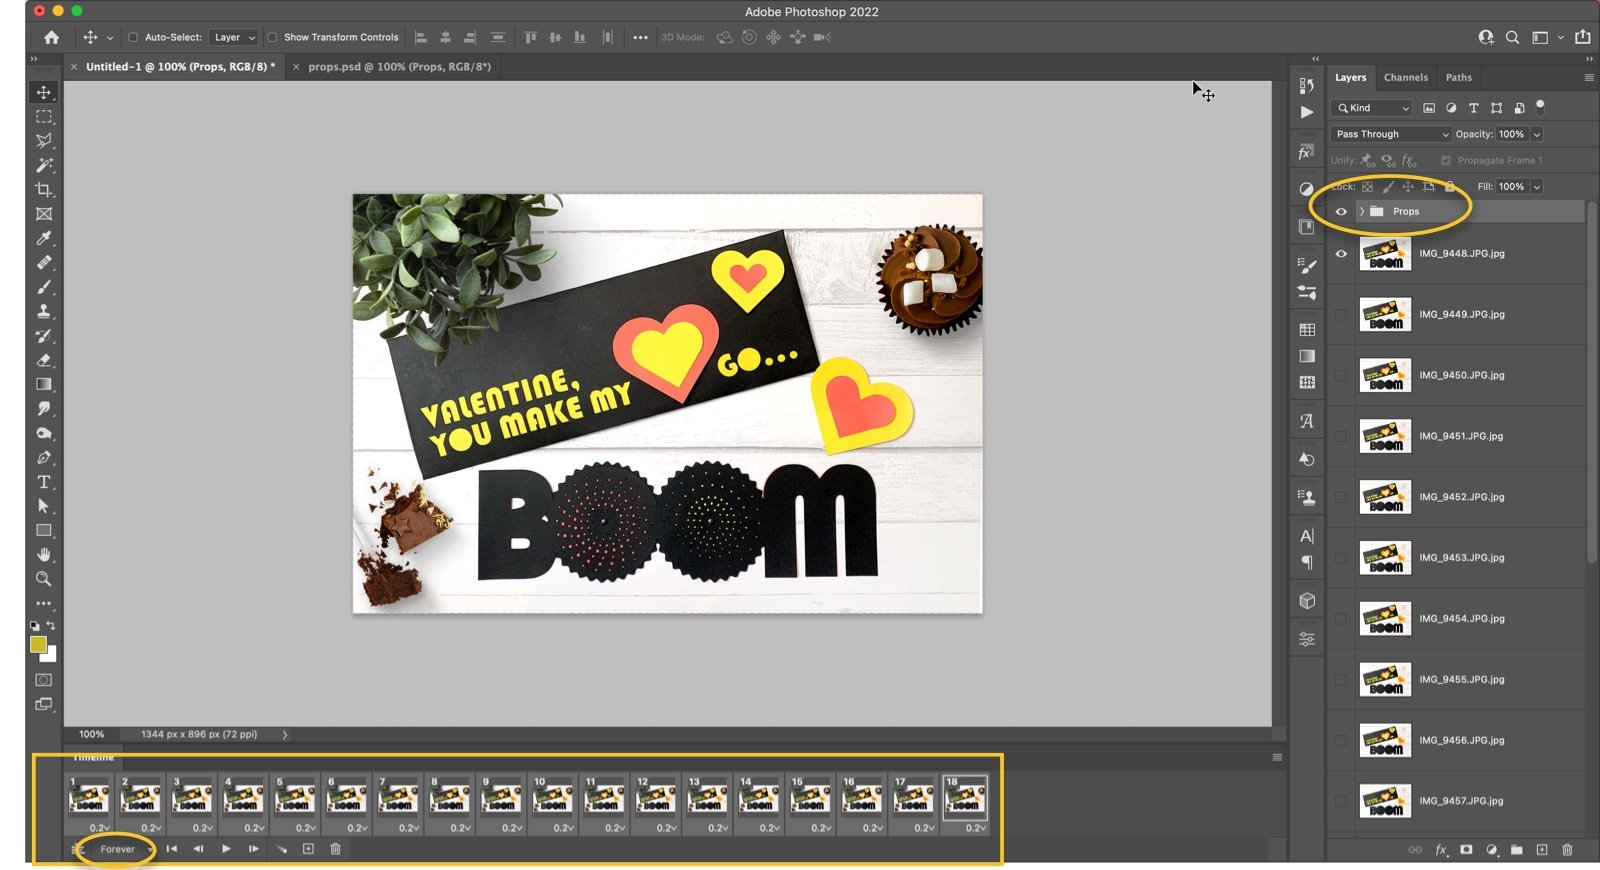
Bulk edit the duration for each frame by selecting them all and choosing the desired length from the drop-down below any of the frames (I used 0.2). Then,. from the bottom left, set the animation to loop “forever.”
At this point I added a few props to the top of the stack in the Layers panel for some added detail. To ensure that the props are added to each of the animation frames, I highlighted all the frames and in the Layers panel, made sure the visibility for each prop layer was enabled.
To export the finished file, choose File > Export > Save for Web (Legacy). Make sure the format is set to GIF, adjust the Lossy slider as desired to achieve the right balance between quality and file size, change the output dimensions if needed, confirm the animation is set to Forever, and click Save.

And just like that… BOOM! You have a super rad animated GIF. If you have a cutting machine like a Cricut, you can purchase the cut files and full tutorial in my shop. Enjoy!


