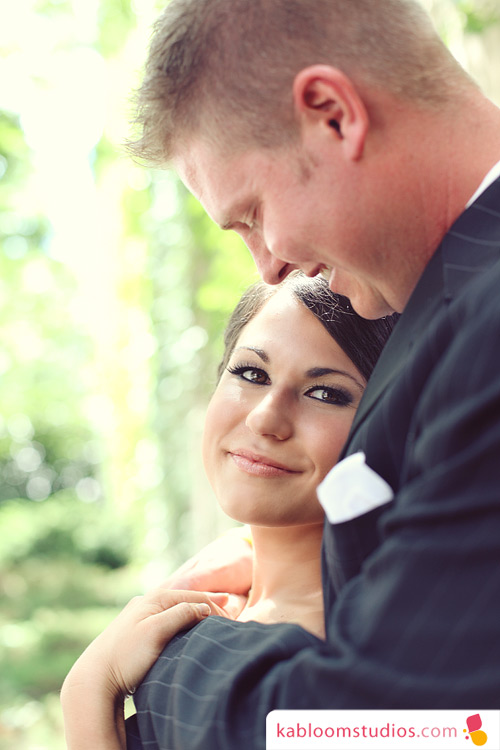
Down the Aisle: Shawna + Todd

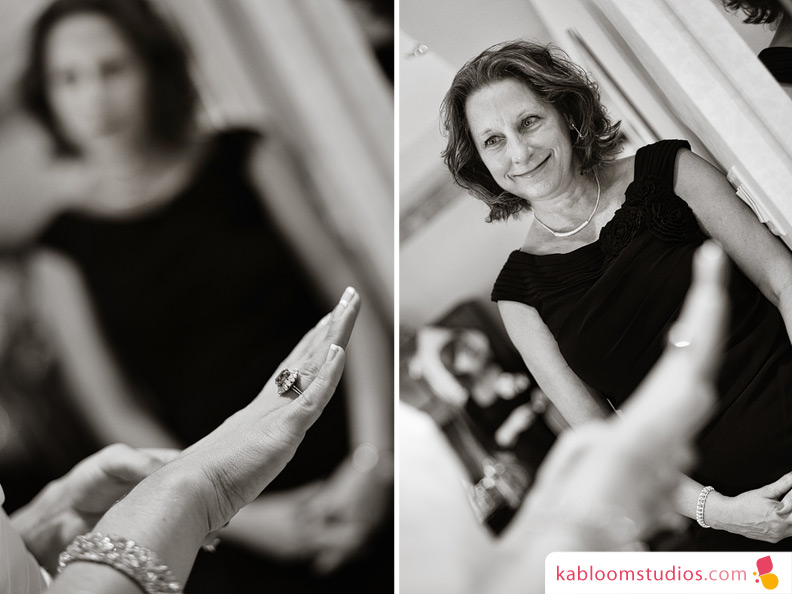
The crowd would be roaring, the band rocking, pom poms rustling—and in the corner of my eye, there was always this curly haired cutie with a huge grin on her face running around watching the commotion. I don't remember her exact age at the time, but Shawna and her sister Nicole could usually be found near the Lincoln East sideline at Seacrest Field where their Dad, "Mr. Gingery," coached the football team (while yours truly tried to remember the kick-line routine for that night's half-time dance performance). Sometime last year, I got an email from Shawna asking about having me photograph her upcoming wedding.  The curly haired cutie I remembered from the sidelines had blossomed into a beautiful girl who shares her father's gregarious grin. And as it turns out, she had fallen for a boy named Todd, who happens to be the son of another East High teacher—Mrs. Ogden. (Go Spartans!)

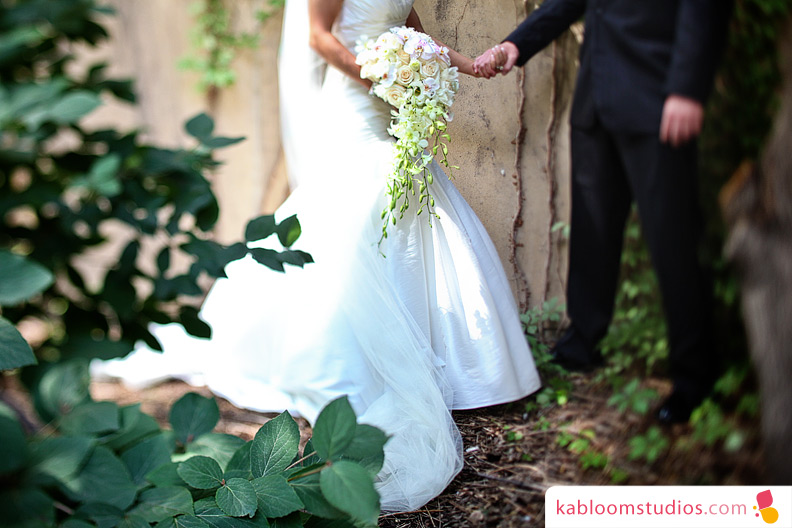
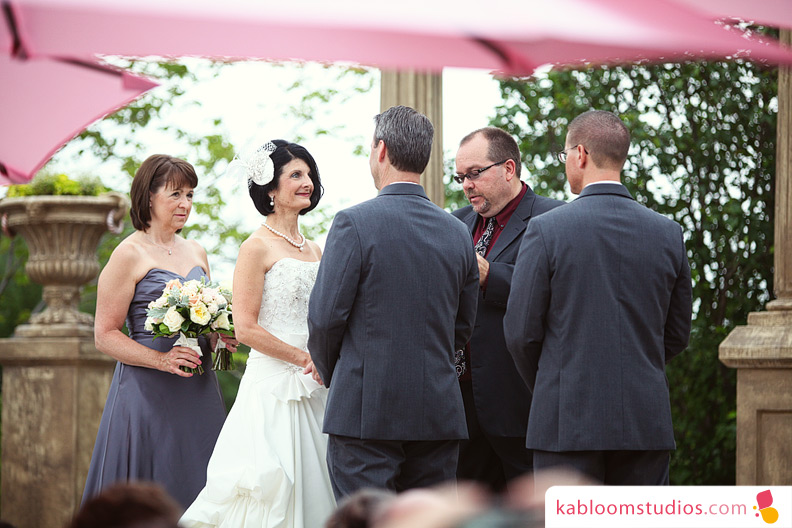
Yesterday—their storybook tale became a reality. I'm so honored to have been invited to capture it all. :)

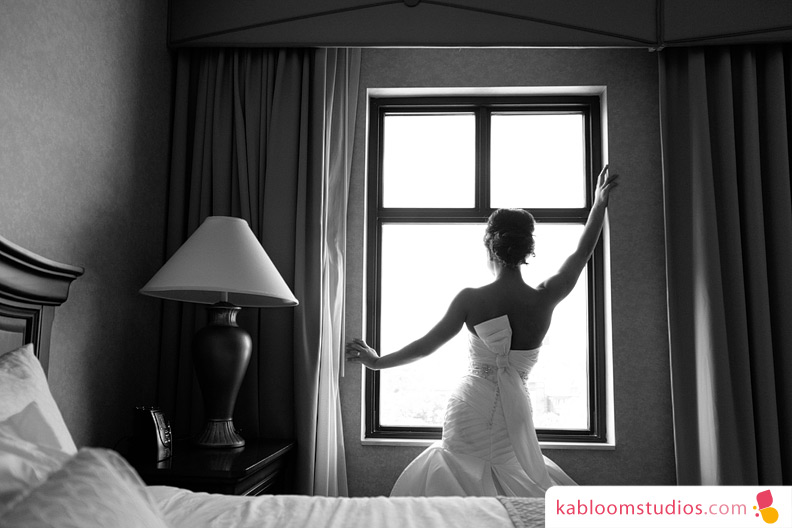
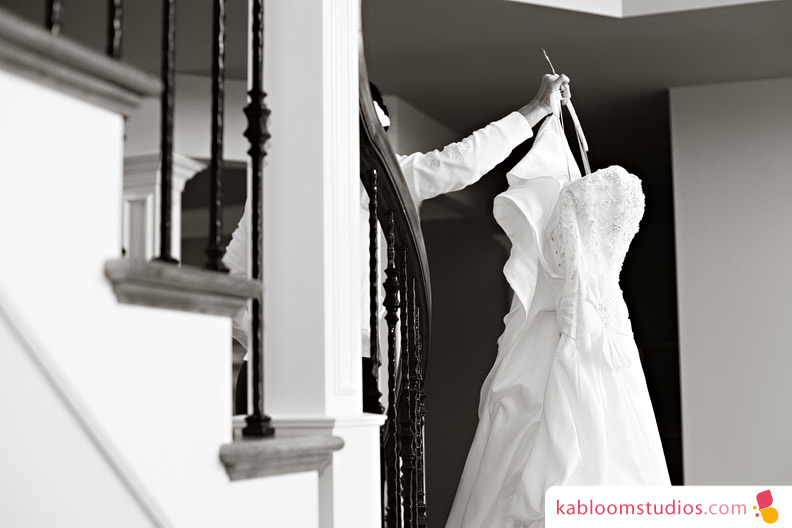
PS: Shawna's dress had zip away bottom, converting it into a short dress for the reception (see the later photos). Brilliant!

undefinedundefinedundefined

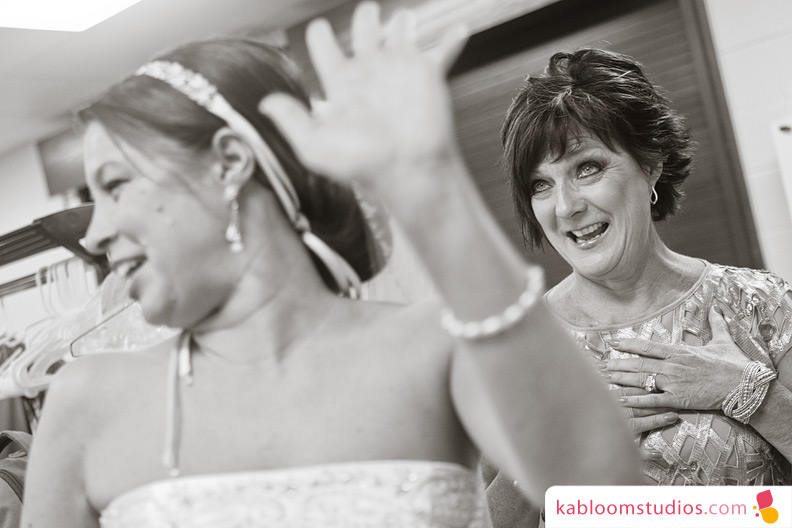
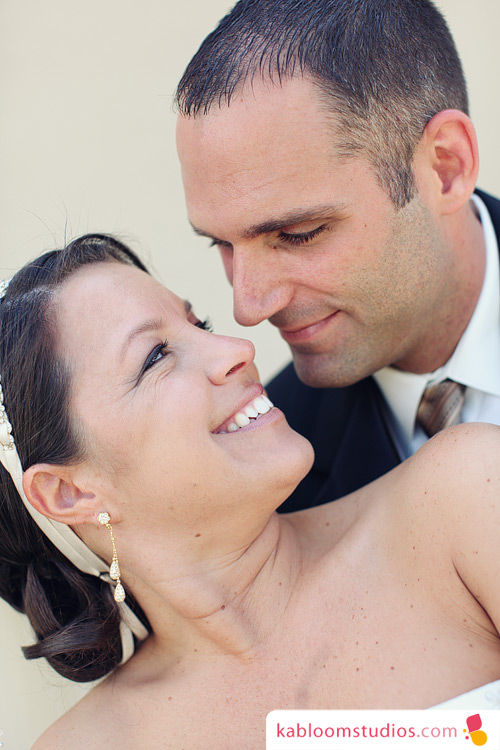
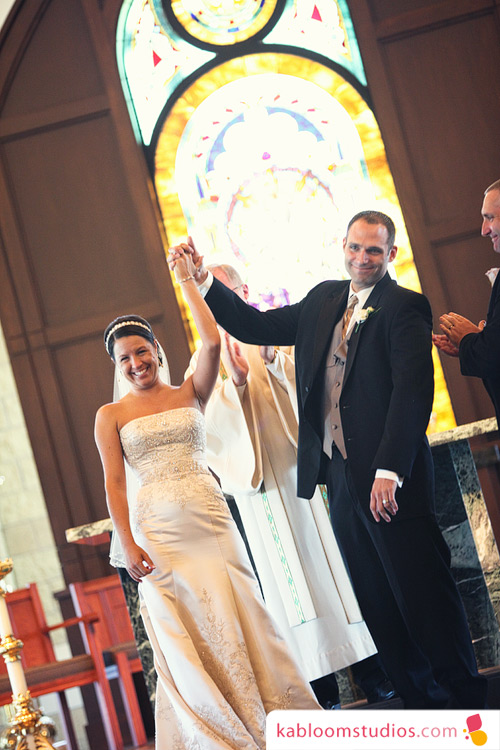
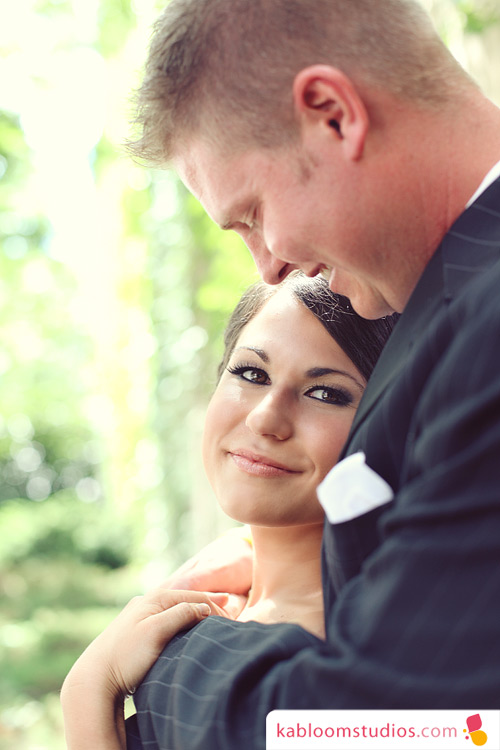
I love Shawna's mega-watt grin. Combined with her laugh... simply beautiful!

undefined

undefinedundefinedundefinedundefinedundefinedundefinedundefinedundefinedundefinedundefinedundefinedundefinedundefinedundefinedundefinedundefined

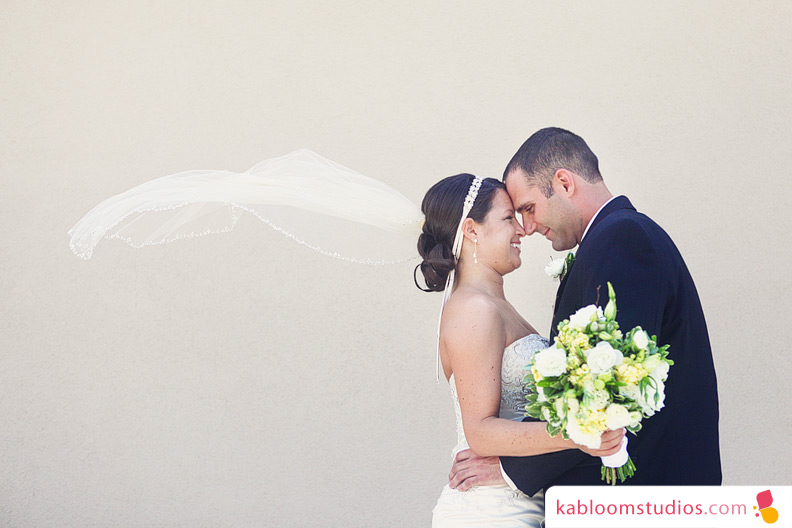
So—this isn't your traditional portrait, but I think it's rad.

undefined

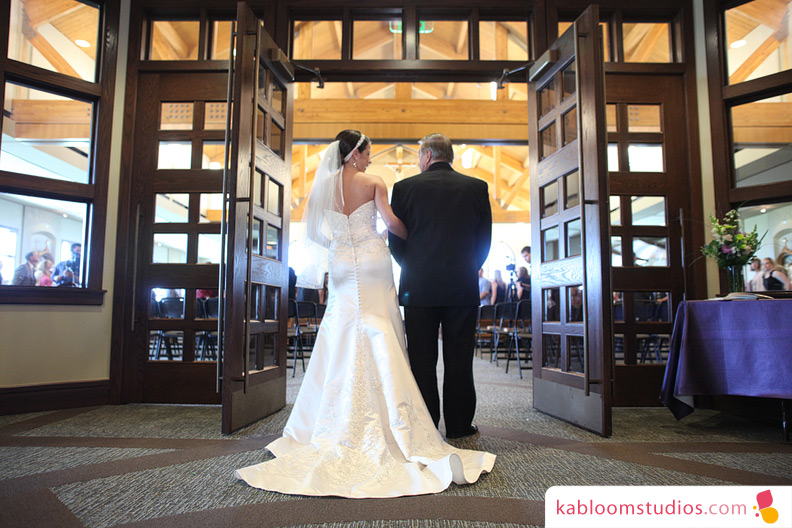
As the ceremony was about to start, Todd watched through this window...

undefined

Then he caught me watching him with the camera. Doh!

undefined

Married!undefinedundefined

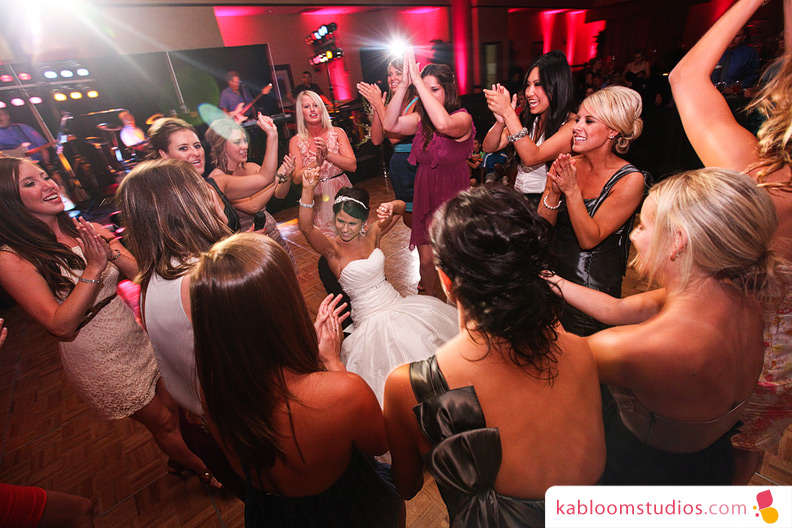
What a fun reception! Shawna's dad announced the wedding party as they arrived, then they turned their father/daughter dance into a disco revival a la Saturday Night Fever. To top it off, there was a dance off between the top contenders to see who could best impersonate Todd on the dance floor. (Not to mention Shawna's zip-away dress!)

undefined Two great families becoming one. Congratulations to you all!

Wedding Album Preview

One of my favorite parts of my job comes after I get home from photographing the wedding—designing the wedding album to tell the story of my clients' day and showcase all their great imagery. I'm also obsessed with getting this to clients as soon as possible. In this case, Mitch & Carrie's album was finished on the Tuesday after the wedding (though as I type this, it's now the wee hours of Wednesday morning—travel coordinating, book edits, and Law & Order got the better of me, what can I say?). If you're a wedding photographer who struggles with workflow and album design, I've got your back! In an effort to save our industry from potential production pitfalls, I've put together a wedding workflow guide and InDesign tutorial video that will take the sting out of your production schedule. You can even save 10% with the code: CRAZYFAST. I hope it rocks your world! :)

In the meantime, here are some of my favorite spreads from Mitch & Carrie's book (they're still in Mexico... but it will be ready and waiting for them when they get back!). :)

undefinedundefinedundefinedundefined

Down the Aisle: Carrie + Mitch

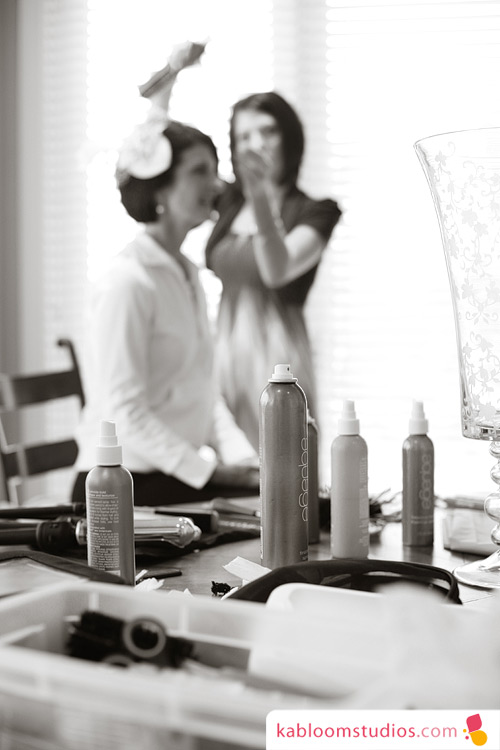
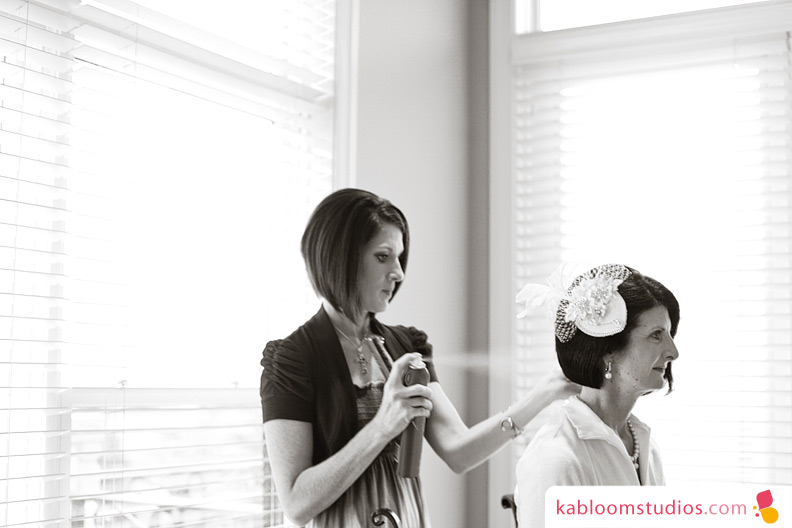
The sound of Carrie's laugh still echoes in my head. "Make me a Kardashian!" she exclaimed to her make-up artist extraordinaire, Natalie Bartling (Sweet Jane Salon). Well—as you'll see in the photos that follow, perhaps the Kardashian girls are at a salon somewhere saying, "Make me a Bergen!" (Isn't the personalized hanger adorable? :) undefined

Gorge!

undefinedundefined

I l-o-v-e this photo. :)

undefined

(jaw-drop!)

undefined

Carrie's mom Joyce looks on as they honor Grandma by wearing her wedding ring down the aisle. :)

undefinedundefinedundefinedundefinedundefinedundefinedundefinedundefinedundefinedundefinedundefined

Emir scored this awesome shot of the St. Mary's church in the background. Doesn't it remind you of the castle at Disneyland?

undefined

More from Emir's cam...

undefinedundefinedundefinedundefinedundefinedundefinedundefinedundefinedundefinedundefined

Prepare yourselves: What follows is all-out, jaw dropping beautifulness from none other than Stacy Combs at Petal Creations. She is nothing short of magical. You could literally hear people gasp as they entered the Embassy Suites ballroom. (wow!)

PS: Reception venues are all about the lighting! Theatrical Media Services helped bring this to life with accent lighting galore. Totally worth making room in your wedding budget!

undefinedundefinedundefined

The Rumbles were on-hand to get the party started!

undefined

Sorority sisters for life!

undefined

Nothing twirls quite like a wedding dress! :)

undefined Buen viaje a Mexico! :)

PS: Special thanks to Cali Hlavac from A Sound Impression for being so easy to work with and Darcy and crew at Embassy Suites for accommodating the Shoot Shack so graciously! xoxoxo!

Down the Aisle: Rebecca + Tom

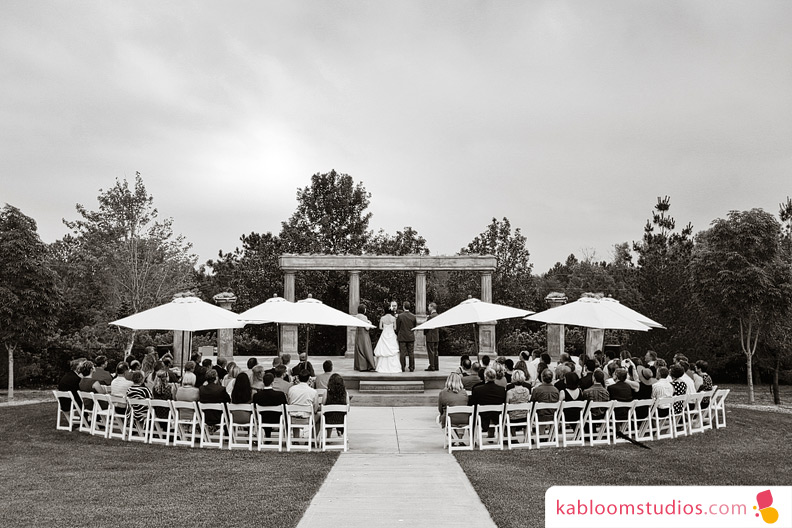
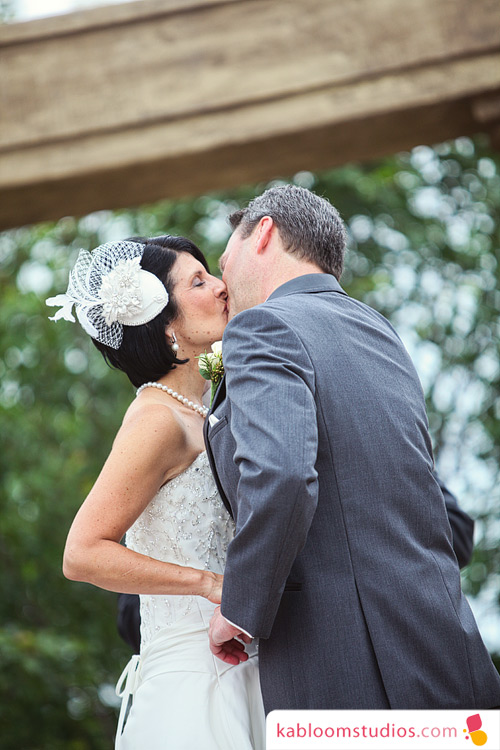
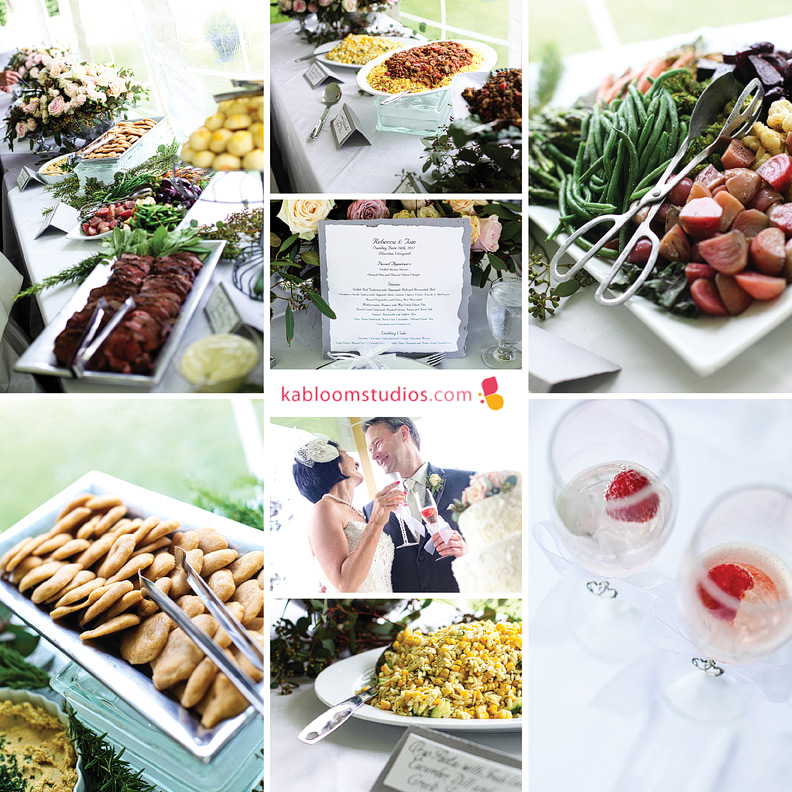
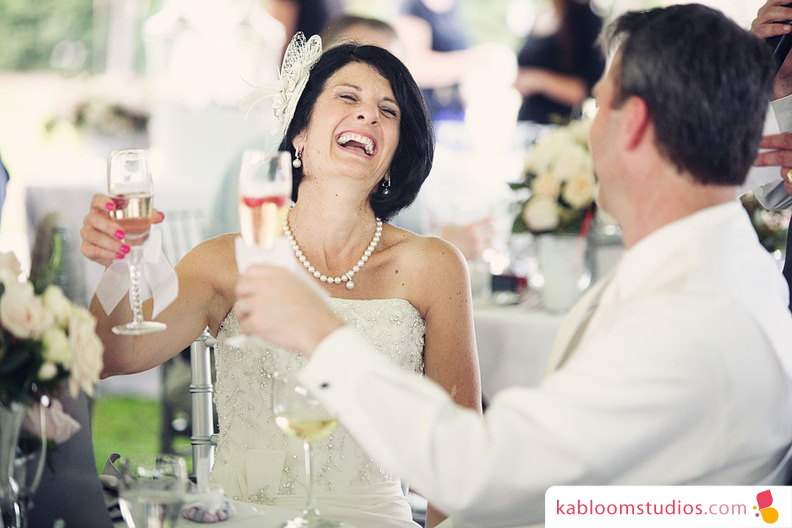
At a gorgeous Nebraska vineyard, while surrounded by an intimate gathering of family and friends on a surprisingly cool Sunday afternoon, Rebecca and Tom walked down the aisle and into their future together as husband and wife. These are just a *few* favorite photos... :) Ceremony/Reception Venue: Bluestem Tree Farm/Vineyard Catering: Tracy Carlson & Co Cake: Butterfly Bakery Cocktail extraordinaires: the crew at Red 9 Hair: Serenity Salon Wedding coordination/art direction/ and overall awesomeness: Aeloa Delany

undefinedundefinedundefinedundefinedundefinedundefinedundefinedundefinedundefinedundefined

Tasha (Serenity Salon) had this incredible technique of threading the hair into an up-do rather than bobby pinning it. Using a tapestry needle and thread, she whipped up some incredible glamor! (She even used a latch hook needle to weave in loose fly-away hairs, avoiding the look of lacquered, untouchable hair. Very cool!)

undefinedundefined

This is Ameeta over at Bluestem Tree Farm. I just love her. :)

undefinedundefinedundefinedundefinedundefined

The outdoor ceremony featured lemonade, iced-tea, and cherry daiquiris served by the pros from Red 9.

undefined

The string quartet set the mood...

undefinedundefinedundefined

One of my favorite senior portrait clients Alexandra Martin sang during the ceremony. What a voice!

undefinedundefinedundefined

I think this is my favorite shot of all...

undefinedundefined

Tom reminded me so much of Stellan Skarsgard... don't you think?

undefinedundefinedundefinedundefinedundefinedundefinedundefinedundefinedundefinedundefinedundefinedundefinedundefinedundefined Wishing you both a very happy ever after!

Recommended Camera Gear

Whether you're an aspiring pro or an as-green-as-can-be beginner, when the time comes for a new camera—it's easy to feel overwhelmed. To help, I've put together a list of great gear I recommend for shooters of all levels. ***This post will continue to be updated as needed.***

Point-and-Shoot Gear
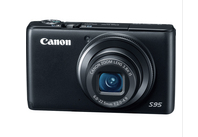
First up on the docket is my beloved point-and-shoot, the Canon S95. I fell in love with this puppy when I initially planned to buy something else, and found myself stopped in my tracks by this little treasure. 10 megapixels, a huge 3" LCD screen, glorious high ISO noise reduction, a smorgasbord of shooting modes (including manual mode which can be hard to find on a point-and-shoot)—and it fits in my pocket!? Sold! :)  It's the size of your phone with much of the power and control of a dSLR. Amazing! I love this camera so much, when Emir and I went to Morocco last January, it was the only one we brought with us. (Check out the photos from Marrakech and the Sahara Desert to see why it was the only camera we needed!)


The S95 comes with a standard wristlet strap, but I opted instead to keep my camera more accessible with a traditional neck strap, which has served me well whether riding camels in the Sahara or jogging down the Vegas strip.


To keep my S95 safe when it's not in my hands, I tuck it into this neck-strap-compatible case. Truth be told—as much as I love the high-level protection it offers, if I were looking again, I'd give serious consideration to this other case too, as it also works with a neck strap, but unlike the case I have, this one has a pocket for memory cards, etc. Bonus!

joby gorillapod

Accompanying my beloved S95 is my favorite bendable little tripod, the Joby Gorillapod (for point-and-shoot cameras).This little baby comes with me when I travel and has made all kinds of shots possible that couldn't have happened otherwise. I've used it on table tops for self-portraits, in the desert sand for night shots, or wrapped around Times Square barricades when shooting a long exposure. The clincher? It fits in my purse along with the S95! :)

Canon G12

The G12 was the other semi-compact camera that almost tore me away from the S95—but not quite. The key differences of the G12 include a faster shutter speed capability (up to 1/4000),  a built-in neutral density filter, and slightly better zoom. For more details on why my decision to go with the S95 was so tough, check out this in-depth comparison.


dSLRs

Ok, ok... so what if you're looking for a dSLR? They can range in price from about $500 to well upwards of $2500 and the differences between them can sometimes be hard to spot.

Professionally, I shoot with the Canon 5DMII. It's a great camera that I love dearly, but it can be more camera than some people care or have need for, so it might be worth a look at some solid alternatives. :)


If you're looking for an entry level dSLR, I love the Canon Rebel series. The Rebel T3 is a great place to start and is available with a kit lens for roughly $500 (at the time of writing). That's a lot of power for less than $500 bucks! Why is it so cheap? It's only 12 megapixels (which is more than plenty for most people, provided you're not committing violent acts of cropping!). It's also important to note that it shoots HD video in 720 rather than full HD at 1080p, but other than that, it's a pretty rad way to get your feet wet in the dSLR world without breaking the bank.


If you prefer an entry level dSLR with more megapixels and a full 1080p, check out the Rebel T2i. For less than $700, you get a great camera that gives you 18 megapixels of yumminess along with plenty of freedom and flexibility for a surprisingly great price.


canon 60d

If you are inspired to jump beyond the Rebel series, check out the EOS 60D. You get total cinematic control (manual exposure!) over your HD video shots along with the ability to add external audio components—all with 18 megapixels of photo deliciousness. With a basic starter lens (18-135mm, f/3.5-5.6), it's all yours for less than $ 1300 (at the time of this writing). Already have a Canon EF or EF-S lens? Get the camera body itself without the lens for less than $1000.


Let's Talk About Lenses

A good lens can make a dramatic impact on your photos, so if you're on a budget and aren't sure where to get the  most bang for your buck, it's better to have a modest camera body and a great lens, than the other way around.

So what makes a lens great? Well—like so many things, it depends on what your needs are. But before you think about  your needs, it helps to understand what to look for in a lens. For those of you who haven't read my book yet, here's a crash course on the main two factors to start with when comparing lenses: focal length and maximum aperture. (This information is generally included with the name of the lens and is also written on the outside of the lens itself.)

The first set of numbers you'll see represent the focal length, measured in millimeters (mm). Smaller numbers represent wider angles (fitting more of the scene into the lens) while bigger numbers are referred to as being telephoto (more close-up to your subject).For example, a 24mm lens will take photos that appear further away than photos taken from the same location using a lens with a more close-up focal length of 135mm. Some lenses are referred to as "fixed" lenses, meaning they offer a single focal length only (like 50mm), vs. "zoom" lenses that offer a range of focal lengths (like 70-200mm for example).

The second set of numbers is the maximum aperture. It refers to how wide the aperture on a given lens is capable of opening. That means, a 50mm, f/1.4 lens has a focal length of 50mm, and a maximum aperture of f/1.4. Simple stuff, right?

Most "kit" lenses that come included with dSLR camera bodies are a good place to start for a general, multi-purpose lens. They often range in focal length from something like 18-55mm or 18-135mm, are relatively inexpensive ($175-450) and generally feature a maximum (widest) aperture of f/3.5 - f/5.6, depending on where you are within the zoom range. (This means that your maximum aperture may be f/3.5 when you're zoomed out as wide as the lens will go, as you begin to zoom in, your maximum aperture will be reduced to f/5.6.) If you want some additional zoom power, check out the 18-200mm, f/3.5-5.6 (right around $600 at the time of this writing).

Lenses start getting more expensive when you do any of the following:

  • increase focal range (greater zoom capacity)
  • increase maximum aperture (the wider the maximum aperture, the more $$$ you should be prepared to spend)

(Note: As you move from inexpensive kit lenses to higher quality specialty lenses, you're also generally moving from plastic to glass construction, which also tends to increase not only the price, but also the weight of the lens.)

Lenses with wide maximum apertures (usually f/2.8 or wider) are referred to as being "fast" because their wider apertures make it possible to shoot without flash and hand-hold the camera in low-light situations with a "faster" shutter speed that doesn't require a tripod. They're also great for achieving very shallow depth of fields.

If you're looking for a "fast" lens to try, I suggest starting with a 50mm prime lens (a prime lens means that it has a fixed focal length, and doesn't "zoom"). 50mm is a great standard focal length that let's you practice active compositional skills by moving yourself closer (or further) from the action as needed. (My 50mm lens spends more time on my camera than any of my other lenses—combined!) You can find an inexpensive one with a maximum aperture of f/1.8 for less than $120. Or, if you want glass construction and a slightly "faster" max aperture of 1.4, you can score one for about  $420.

My personal favorites amongst my current lens collection include the 50mm, f/1.2, the 16-35mm, f/2.8, the 70-200mm, f/2.8, and the 100mm, f/2.8 macro.


Of course, owning all the greatest gear in the world won't do you any good if you don't know how to use it. :) For a fun, non-intimidating introduction to getting the most from your camera (whichever one you have), check out my labor of love, Your Camera Loves You: Learn to Love it Back!

Spinach for Breakfast?

Over the past year and a half I've been doing a lot more reading about food, nutrition, and how to avoid the perils of the standard American diet. My journey lead me through a string of truly life changing books (listed at the end of this post), and ultimately found me at the grocery store this Sunday with a new recipe to try. This is what I filled my cart with: undefined

The soup I planned to make called for juicing 5 lbs of carrots (the results of which can be seen in the pitcher below) and 2 bunches of celery (instead of using vegetable broth). I'd never used our juicer before, but it was pretty darn amazing! You drop in some carrots and magically—out squirts a bunch of carrot juice! (Look out David Copperfield—I was a magician in my kitchen this weekend!)

undefined

The whole soup included the carrot/celery juice, 8 zucchini, 4 onions, 3 leeks, oyster mushrooms, split peas, lentils, kale, cashews... and some spices. I'm a huge vegetable/soup fan... but was skeptical at first (kale!?). Happily, once it cooked down, it started to smell amazing, and with 10 servings, it will last Emir and I at least a few days.

undefined

My latest book also included a recipe for a spinach/chocolate smoothie. It sounded too interesting to pass up. The ingredients are:

  • 2 cups of frozen blueberries
  • 1 banana
  • 4 dates (pitted)
  • 1/2 cup almond/soy/hemp milk
  • 1 tbs ground flax seed
  • 2 tbs natural/unsweetened cocoa powder
  • 5 oz. of spinach (This is MUCH more than you think! Roughly 3 huge fists full...)

I wasn't sure if the drink would be blue from the berries, brown from the cocoa, or green from the spinach... but as you can see for yourself in the photo below, it's pretty dark. It's also—DELICIOUS!!!!! Emir and I have had it for breakfast and a night time snack every day since. We ran out of blueberries this morning and substituted half the frozen fruit with strawberries. Also good. :) Can you believe there's 5 oz. of spinach in there? (We weighed it out on a scale... it's quite a bit more than I would've guessed.)

undefined If you're curious and want to get started with a healthier diet, here's the books I read (in the order I read them... which I think was helpful....)

  • Skinny Bitch - Pretty extreme, great if you need a pretty stern kick in the pants  to kick your bad habits :)
  • In Defense of Food - Fascinating exploration of food, culture, and putting our society in perspective
  • Eat to Live - A good review with some delicious recipes (like the chocolate smoothie above and the yummo cancer fighting soup)

All in all, I've had a ball in the kitchen while exploring healthier eating options. I've learned how to prepare leeks, oyster mushrooms, and have come to love tofu, dates, and even spinach for breakfast. :)

Mastering Photoshop

Whether your photo processing style is minimal and more natural, or whether you're a fan of extreme digital effects—Photoshop is part of your digital photo life. And if you're new to the world of digital imaging, you may be wondering how in the world you can get a grip on the basics (let alone the various nuances that make Photoshop the software bohemeth that it is)? Messing around and exploring on your own is great, but it only goes so far. After all, Photoshop is one seriously sophisticated piece of software!

I started my learning process 10+ years ago with an old, enormous, 1000+ page book called "Inside Photoshop 6." (It could possibly win the award for the worst cover design of any book I've ever seen. Don't judge!). As I carefully worked my way through each exercise (even the ones that looked less than exciting), I made a point to explore the why behind what the author was having me do, rather than mindlessly clicking along without much regard to what was actually happening. In other words, it's easy to work your way through even the best of educational books and come out knowing little more than when you started if you don't pay attention to the why behind the process. Using your critical thinking skills while you work through the exercises in any book will help you learn to "think" like Photoshop, understanding not just where to click... but how, when, and of course—why.

Photoshop cs5 one on one

Of course, we've moved quite a bit past Photoshop 6 (currently with CS5, the equivalent of Photoshop 12), and my beloved book that first introduced me to the wonders of Photoshop is now pretty outdated (which also means it's cheap... you can get it on amazon for as little as $0.01!). Thankfully, other incredible authors like Deke McClelland have put together more recent books like "Photoshop CS5 One-on-One," which I highly recommend and use as the text book for the various classes I teach.

After pouring my way through books, I moved on to other awesome learning materials like Photoshop User Magazine and website. Super guru and genius Scott Kelby leads the charge as well-known Photoshop trainers, writers, and artists pool their knowledge together into a one-of-a-kind educational magazine with an incredible online component.

PhotoshopUser Magazine

For $99/year you get 6 issues of the tutorial stuffed magazine, access to their vast collection of online resources and tutorials, a direct phone number to their Photoshop  help desk, and—free shipping from B&H (among other benefits!). If you use this link and enter the code FRIEND, you'll also get the "Best of Photoshop User: 12th Year DVD" free!

All these years later, I still subscribe to the magazine and am continually amazed with each issue.

My advice to newbies is: learn as much as you can about every aspect of Photoshop. Work your way through as many lessons and tutorials as you can, even if you don't particularly care for the specific example or final outcome. Your goal should be not just to learn how to set text on fire or create the illusion of molten lava, etc., but to understand the various available functions, commands, and techniques and how you can use them to suit your fancy whenever the spirit moves you. Many of the same techniques can be applied in different genres whether you're a mixed media collage artist or a portrait photographer.

Sometimes, the best thing you get out of a tutorial is a by-product of the lesson itself. Discovering a new way of doing something, a command you'd never noticed before, or a simple keyboard shortcut you'd somehow missed previously. The more you read, the more broad your knowledge becomes.

If you're anxious to play but are stuck for ideas, check out the contests and galleries at Worth1000. They have assignments and Photoshop competitions for users of all levels. It's sure to inspire some exciting pixel play.

Enjoy!