How to Crochet a Quick & Easy Cup Cozy (With Free Printable Cup Insert!)

The latest course in my 3-part series will walk even the most novice beginner through everything you need to know to crochet your first cup cozy, from how to hold your yarn, to weaving in the ends of your finished project. These make the best handmade gift idea—and they’re quick and easy to make for everyone on your list!

As a bonus, you’ll also get the printable cup cozy insert so you can gift your finished cozies in style. You can take this and all my Skillshare classes FREE for 2-months when you use this link. So grab your hook, a nice warm drink, and let’s get cozy!

Crochet Your First Hat This Weekend! A Beginner's Guide

how-to-crochet-a-hat.jpg

Handmade gifts make the holidays extra special. In this new course, you’ll learn how to add that special touch with a quick and easy crochet hat. From a snug fitting beanie to a more loosely fitting slouchy hat, this course will show you how to customize the size and fit for everyone on your list—even if they’re not around to try it on. And with the included printable labels, you’ll ready to give your gifts in style! Get a FREE 2-month pass to everything Skillshare has to offer via this link. Get started now! How many hats will YOU make?

Give Handmade This Year: I'll Teach You to Crochet!

slides.jpg

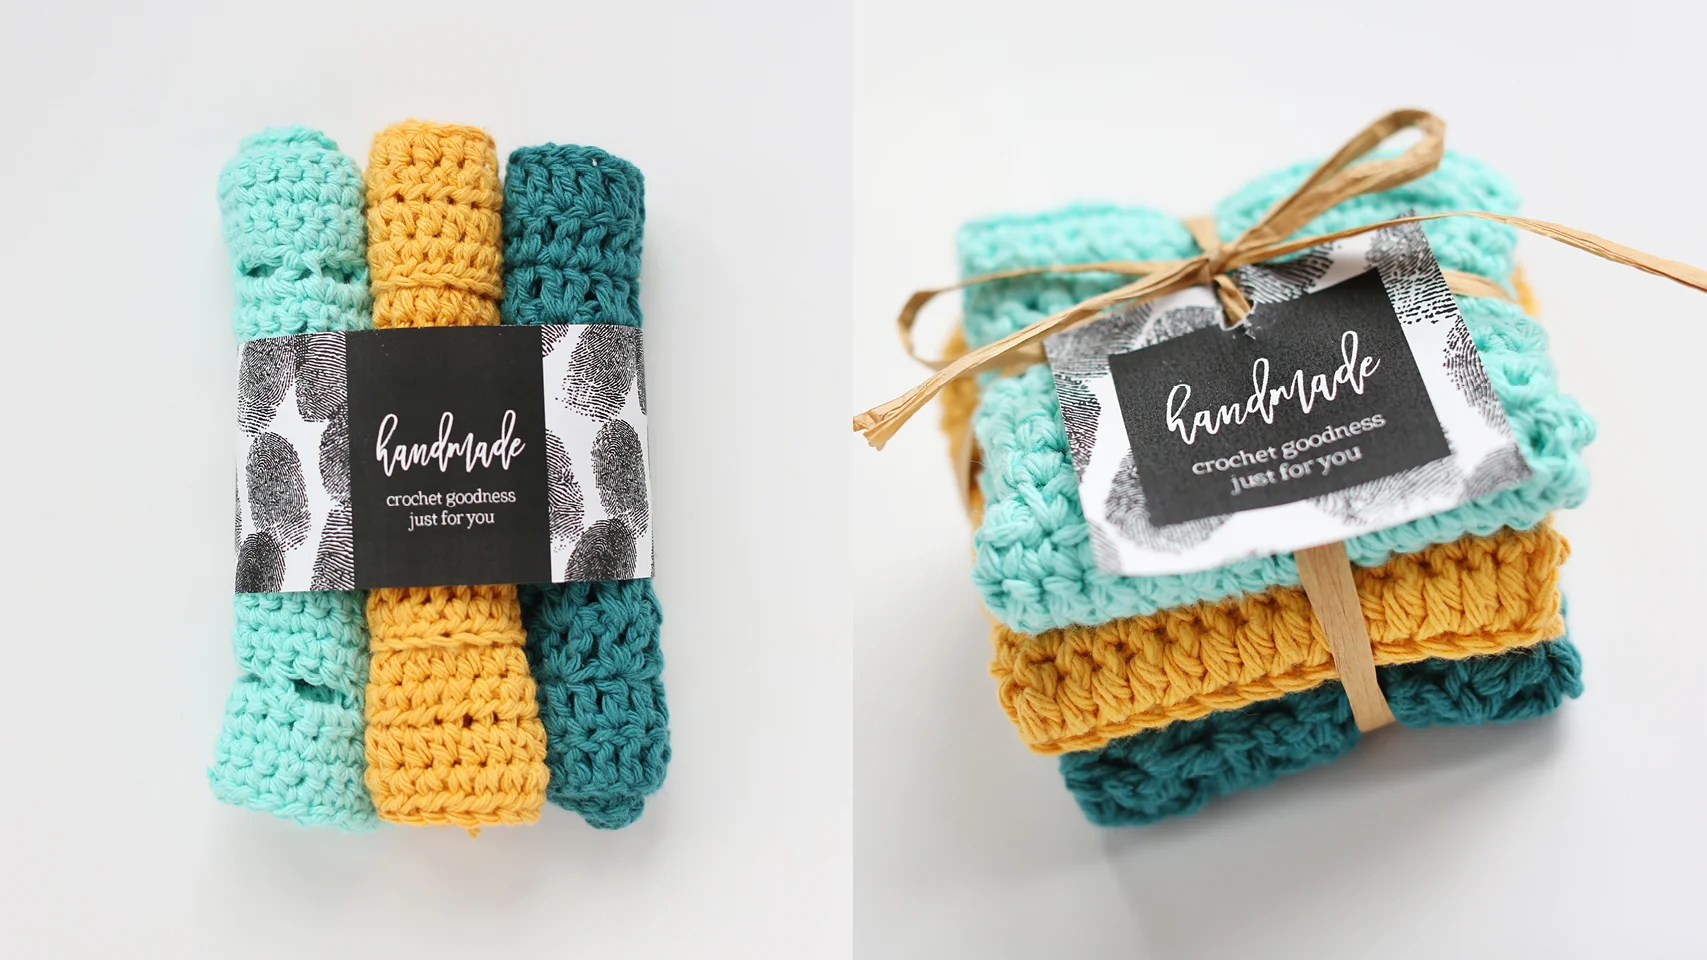
If you’ve ever wanted to learn to crochet—I’d love to teach you, for FREE! I’ll walk you through 3 simple dishcloths from beginning to end and when you’re finished, you can even download my free printable labels to share your gift in style. All you need to get started is some cotton yarn and a crochet hook. Get the details (plus all my other Skillshare courses) at NO COST with a free trial.

How much would everyone your list love to get a cute bundle like this—made by you???!?!? Can you even imagine?!?!? I can’t wait to see what you make!

crochet-course

Pregnancy Album and Diary Template

pregnancy-album-template.jpg

Back when I was pregnant with Zé, I kept a diary of photos and memories which ultimately culminated in an album/book of some sort. Naturally, I shared it on social media and has people asking for a template. I've just gone through and updated it for 2018 and added it to my shop. These are the details:

Features

  • 86 drool-worthy pages including an intro/outro, birthday spread, and a full-spread per week (x 40 weeks)—but don't feel like you have to fill in every week! Feel free to edit as needed!
  • Totally editable! Add/subtract pages, edit fonts/colors/layouts—whatever!
  • Don't want to use Blurb? Just adjust the specs to fit whatever vendor you want and get to it already! (Out of the box it's formatted for a 7x7 hardcover book from Blurb.)
  • THIS IS AN INDESIGN TEMPLATE. It is saved as an .idml file, so it can be opened with versions as far back as InDesign CS4. (If you're looking for a Photoshop template, stop and ask yourself, "Why would I design an 86 page document in Photoshop? That'd be crazy! I should know better than to even consider that!" Then, return to your senses and proceed with InDesign.
  • Includes an InDesign Library file with all the icons for each week making it super easy to rearrange/add/remove pages and drag-and-drop design elements as needed. (Instructions included!)

Tips for Easy, No-Stress Diary Keeping:

  1. Write as Much (or as Little) and as Often (or as Infrequently) as You Feel. Just because a template (this template) includes a spread for each of 40 weeks—doesn't mean you have to make an entry every week! I found pregnancy to be the most challenging thing I've ever put myself through, and as such, if I had tried to force myself to journal every week, it would've been a recipe for failure. I didn't even make my first journal entry until week 13 after we heard the heart beat, and that's totally ok. From that point on, I only made entries when I felt like I had something worth sharing with baby. Sometimes that was several times per week, other times there were 4 or 5 weeks between entries. Do what works for you and add/subtract pages as needed.
  2. Keep it Real. You don't have to fill the diary with flowery prose about rainbows, unicorns, and perceived pregnancy bliss (because let's face it, pregnancy can be hard). Write about the day-to-day happenings, how the plans for the nursery are coming along, or even current events that are on your mind.
  3. Use Tools That Make it Easy. Maybe you'll want to make your entries directly into the template in InDesign. Or maybe you want to get it out first, before worrying about making it pretty (that's what I did). I used Google Docs to make my entries (even adding small images to remind me what images I wanted to include), letting them pile up for months before I transferred (copy and pasted) everything to InDesign.

Just remember to keep it simple—pregnancy can be hard enough on its own. Hang in there mama!

I Made a Font!

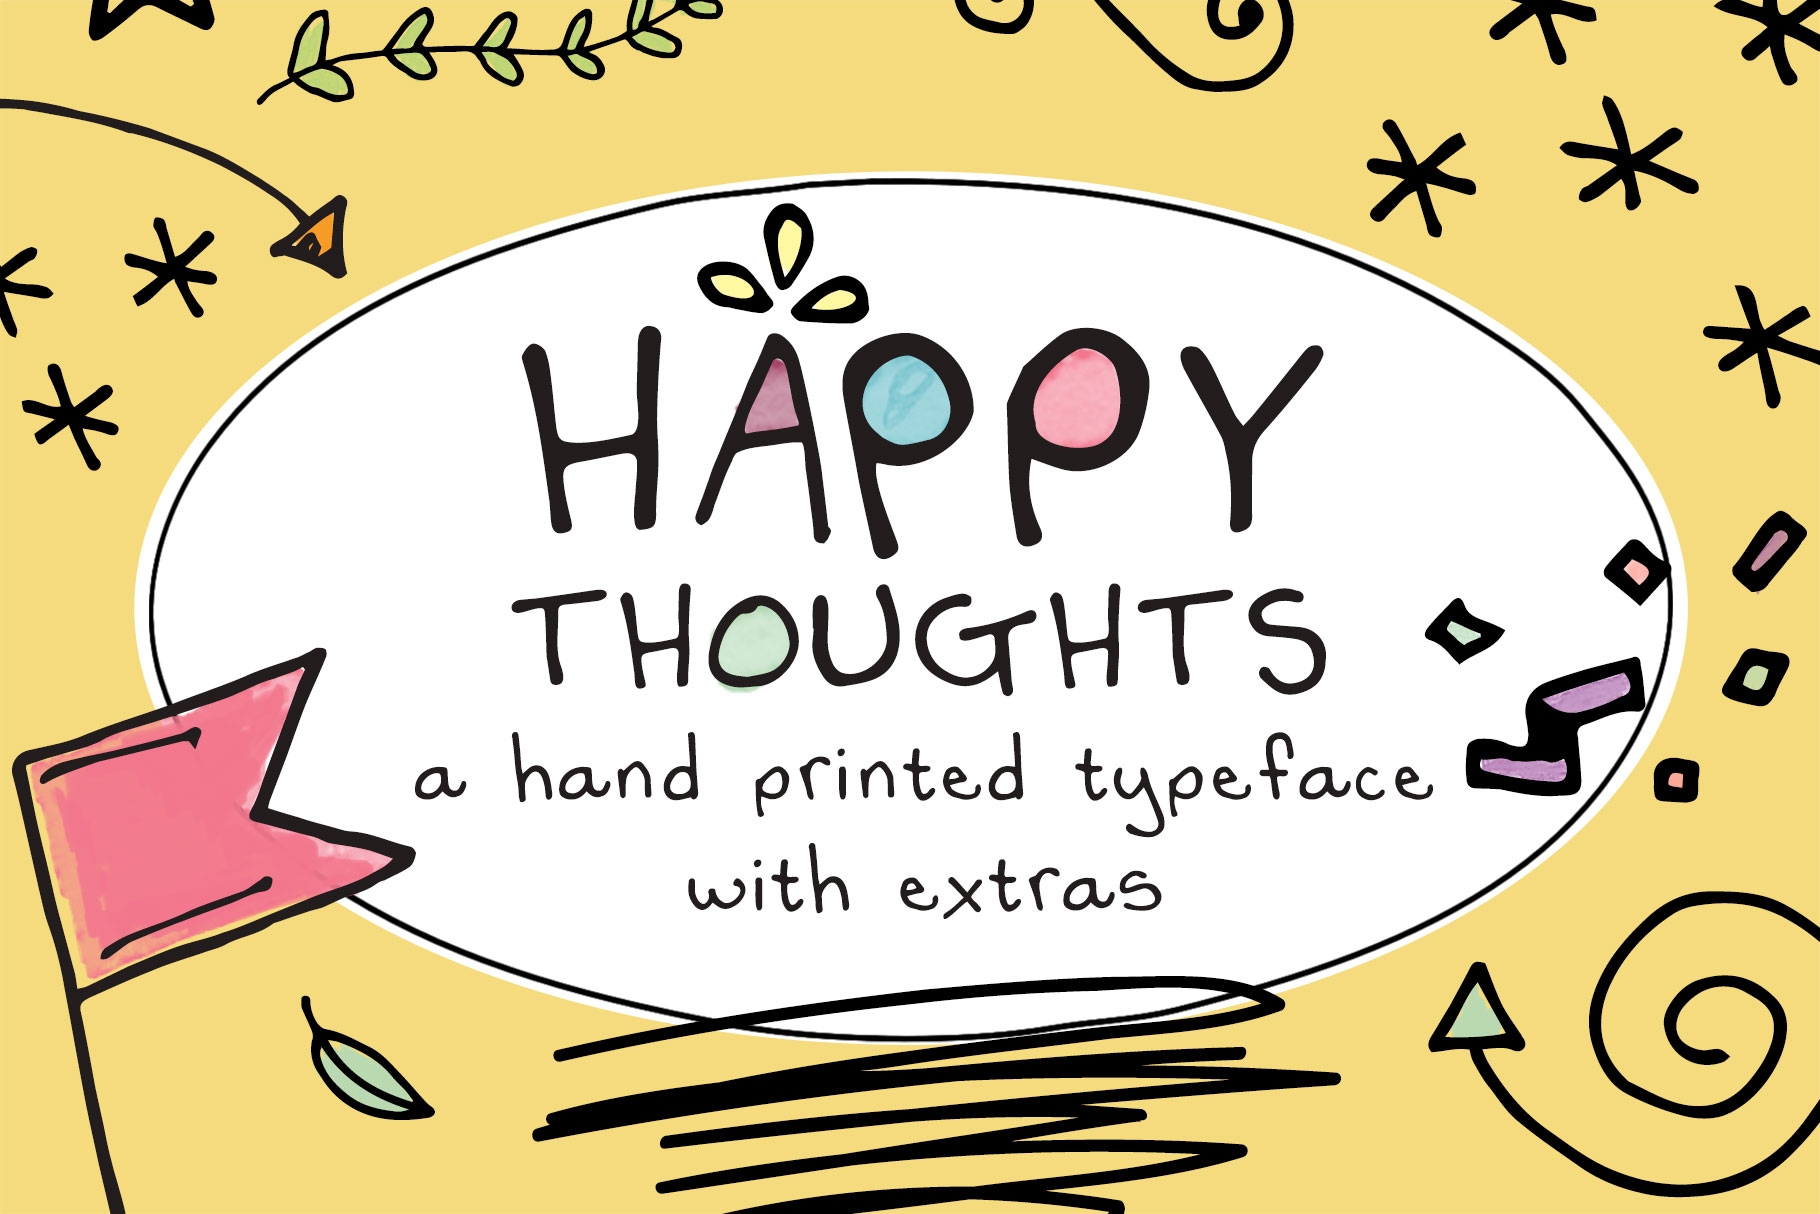
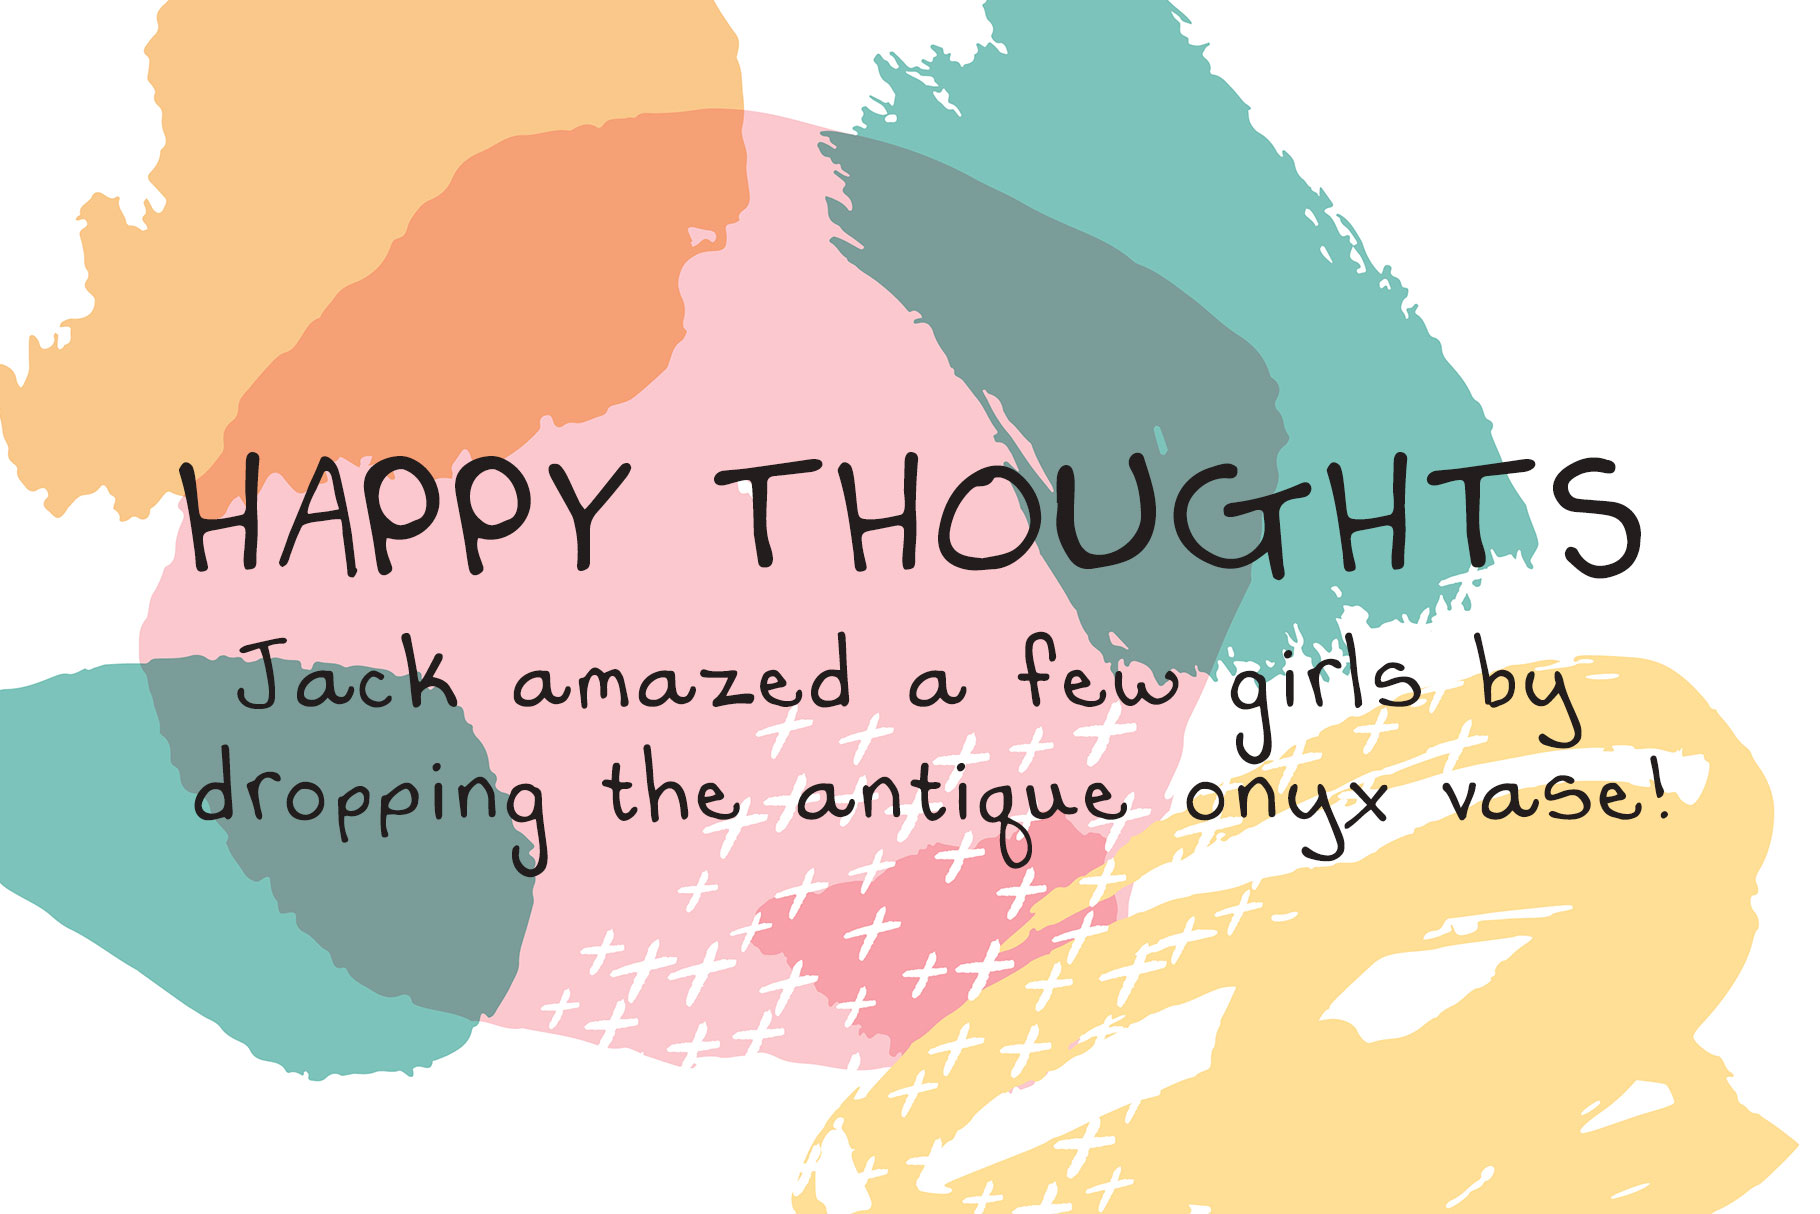
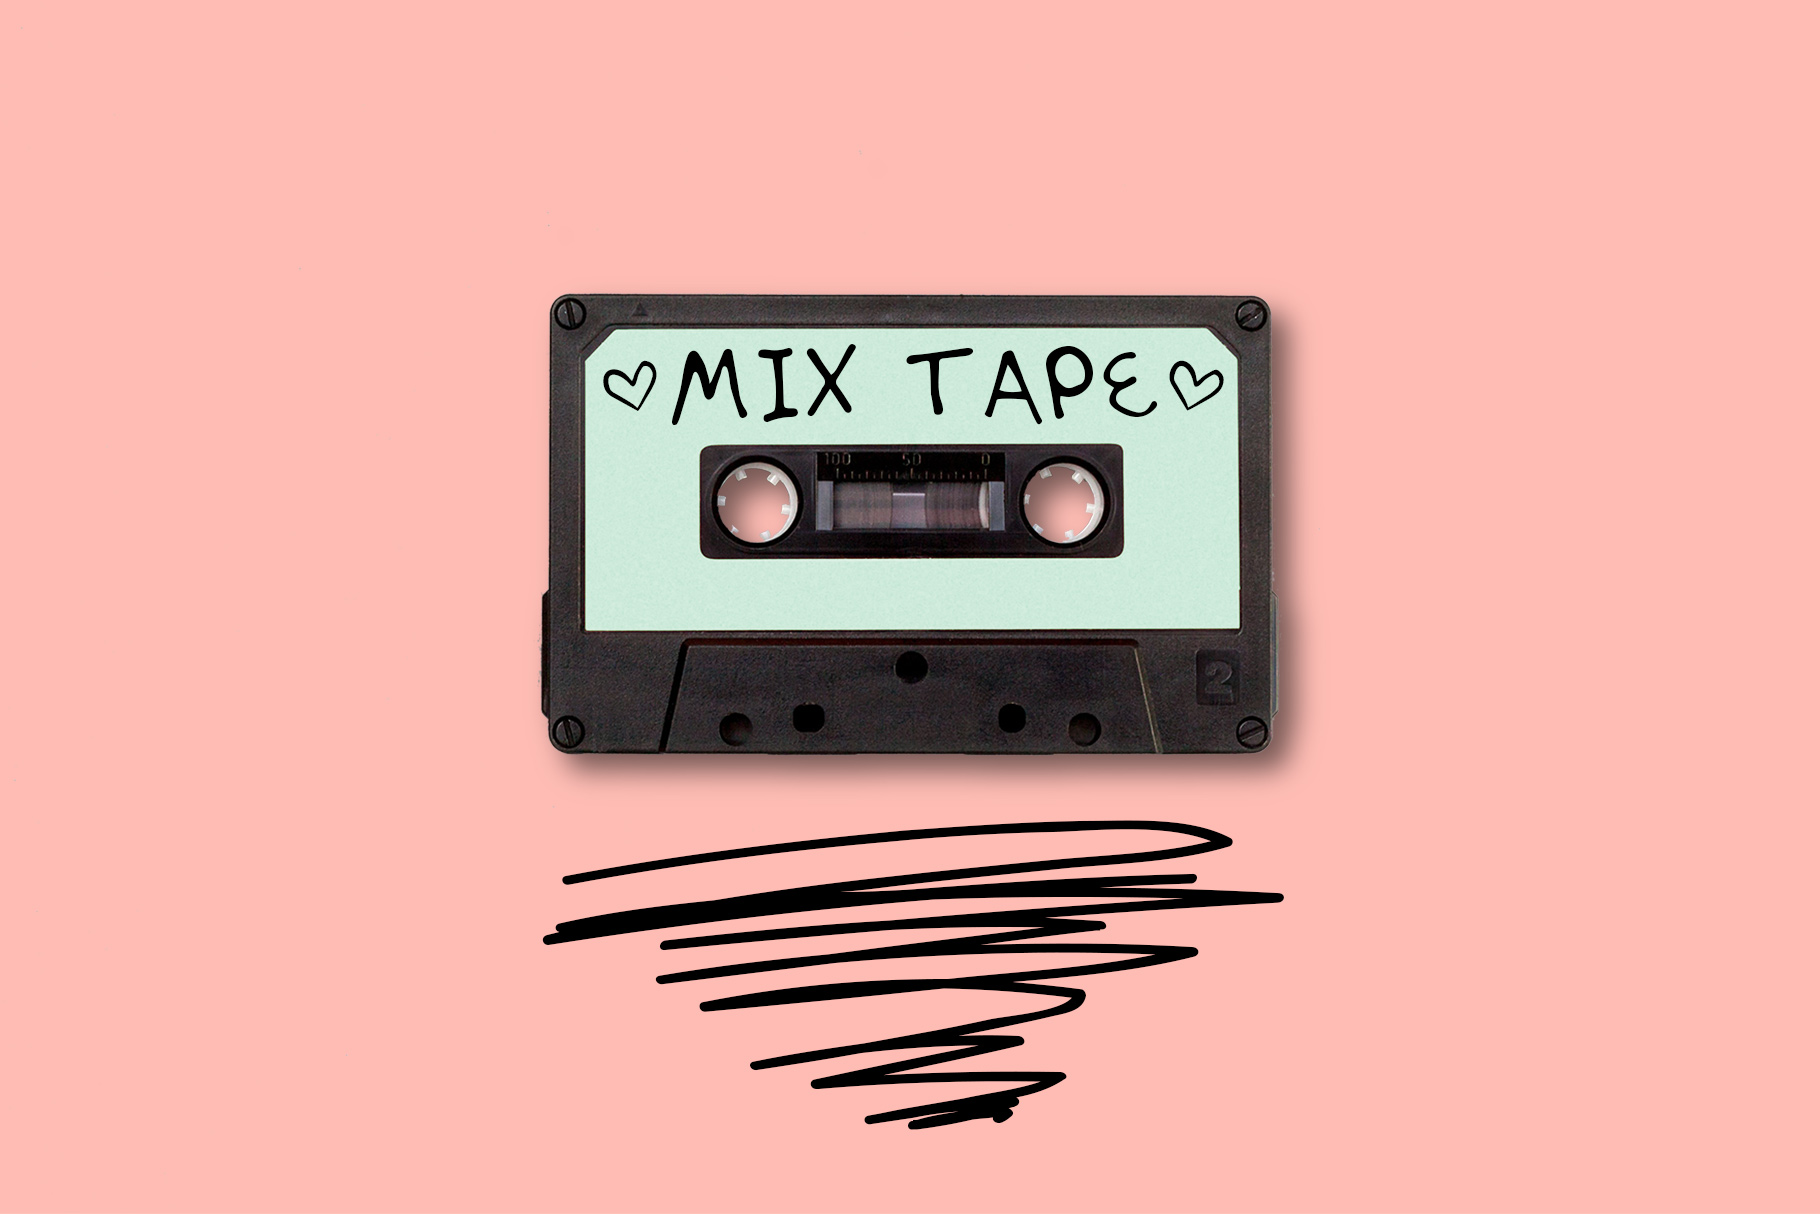
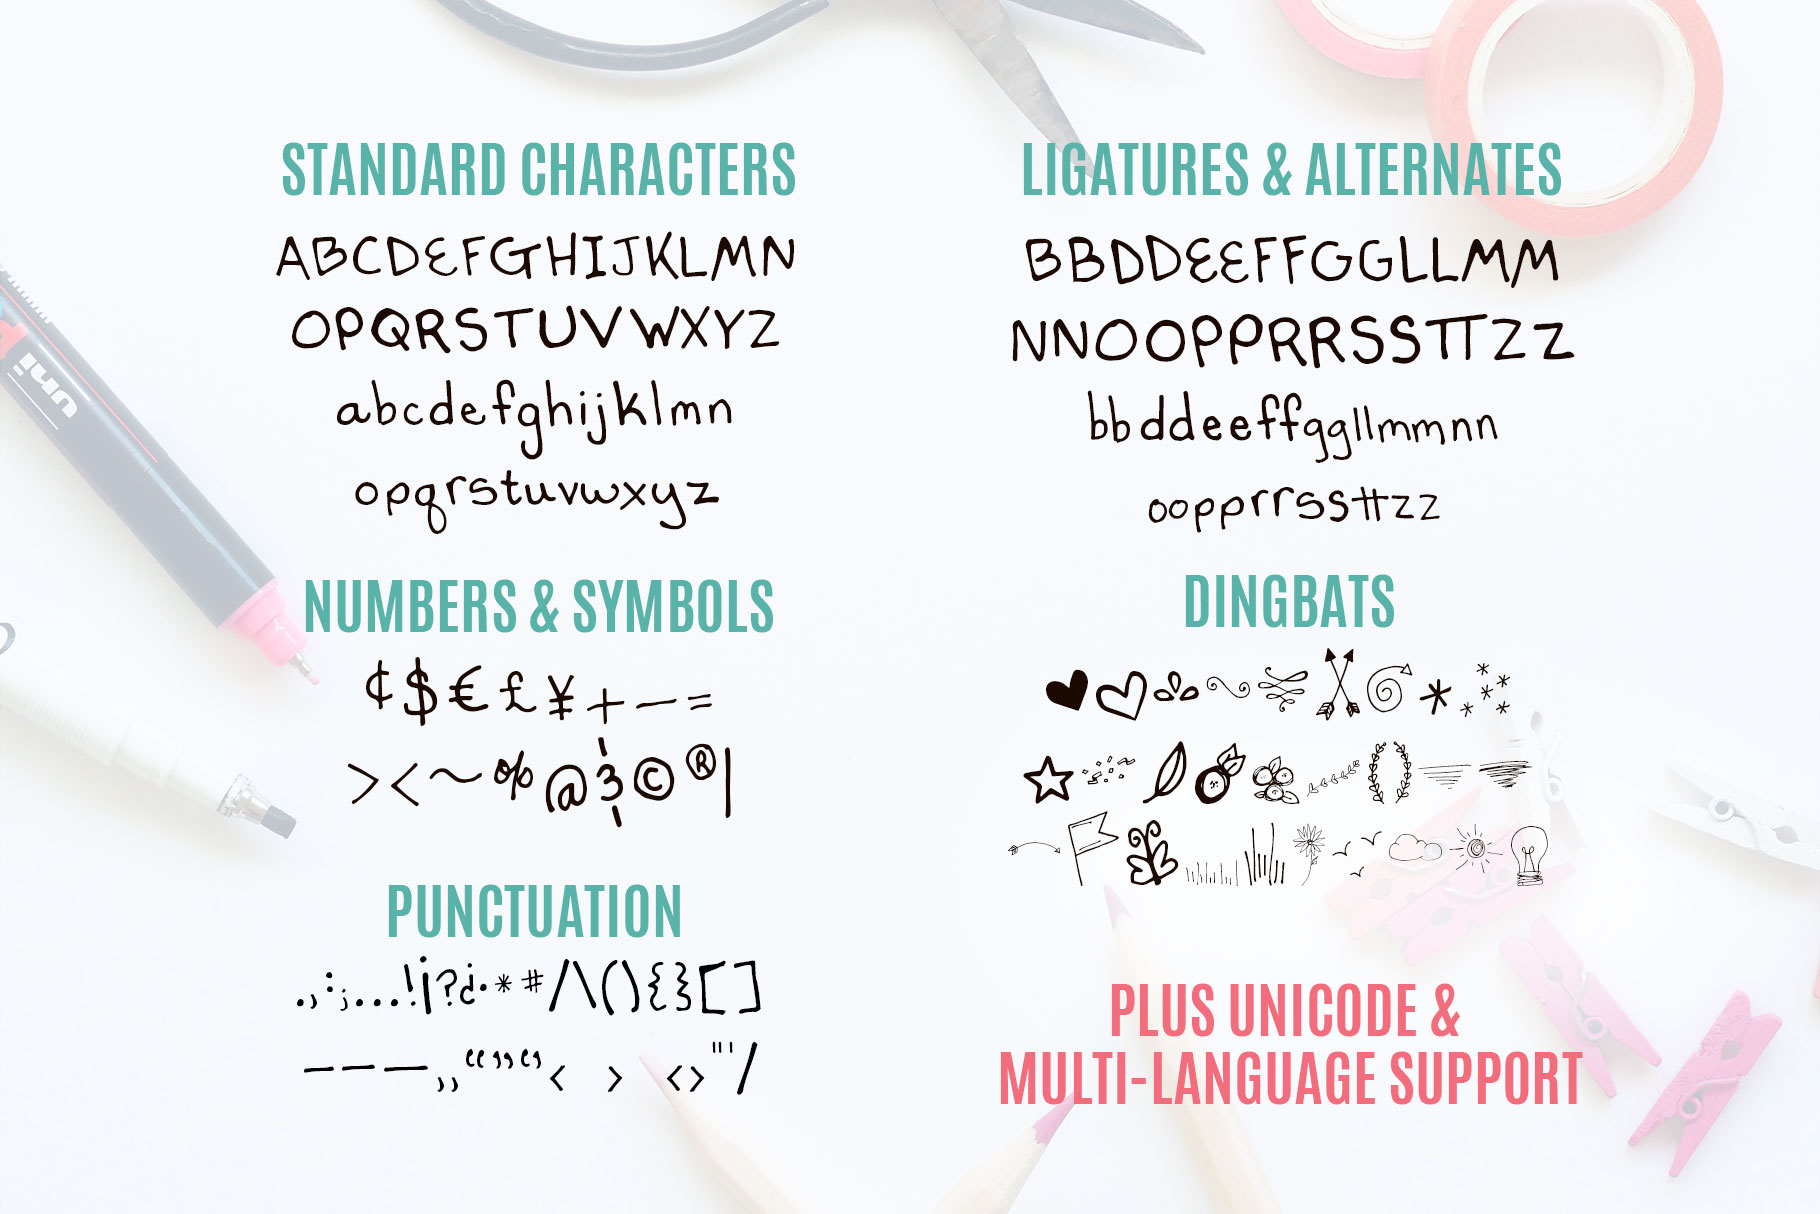
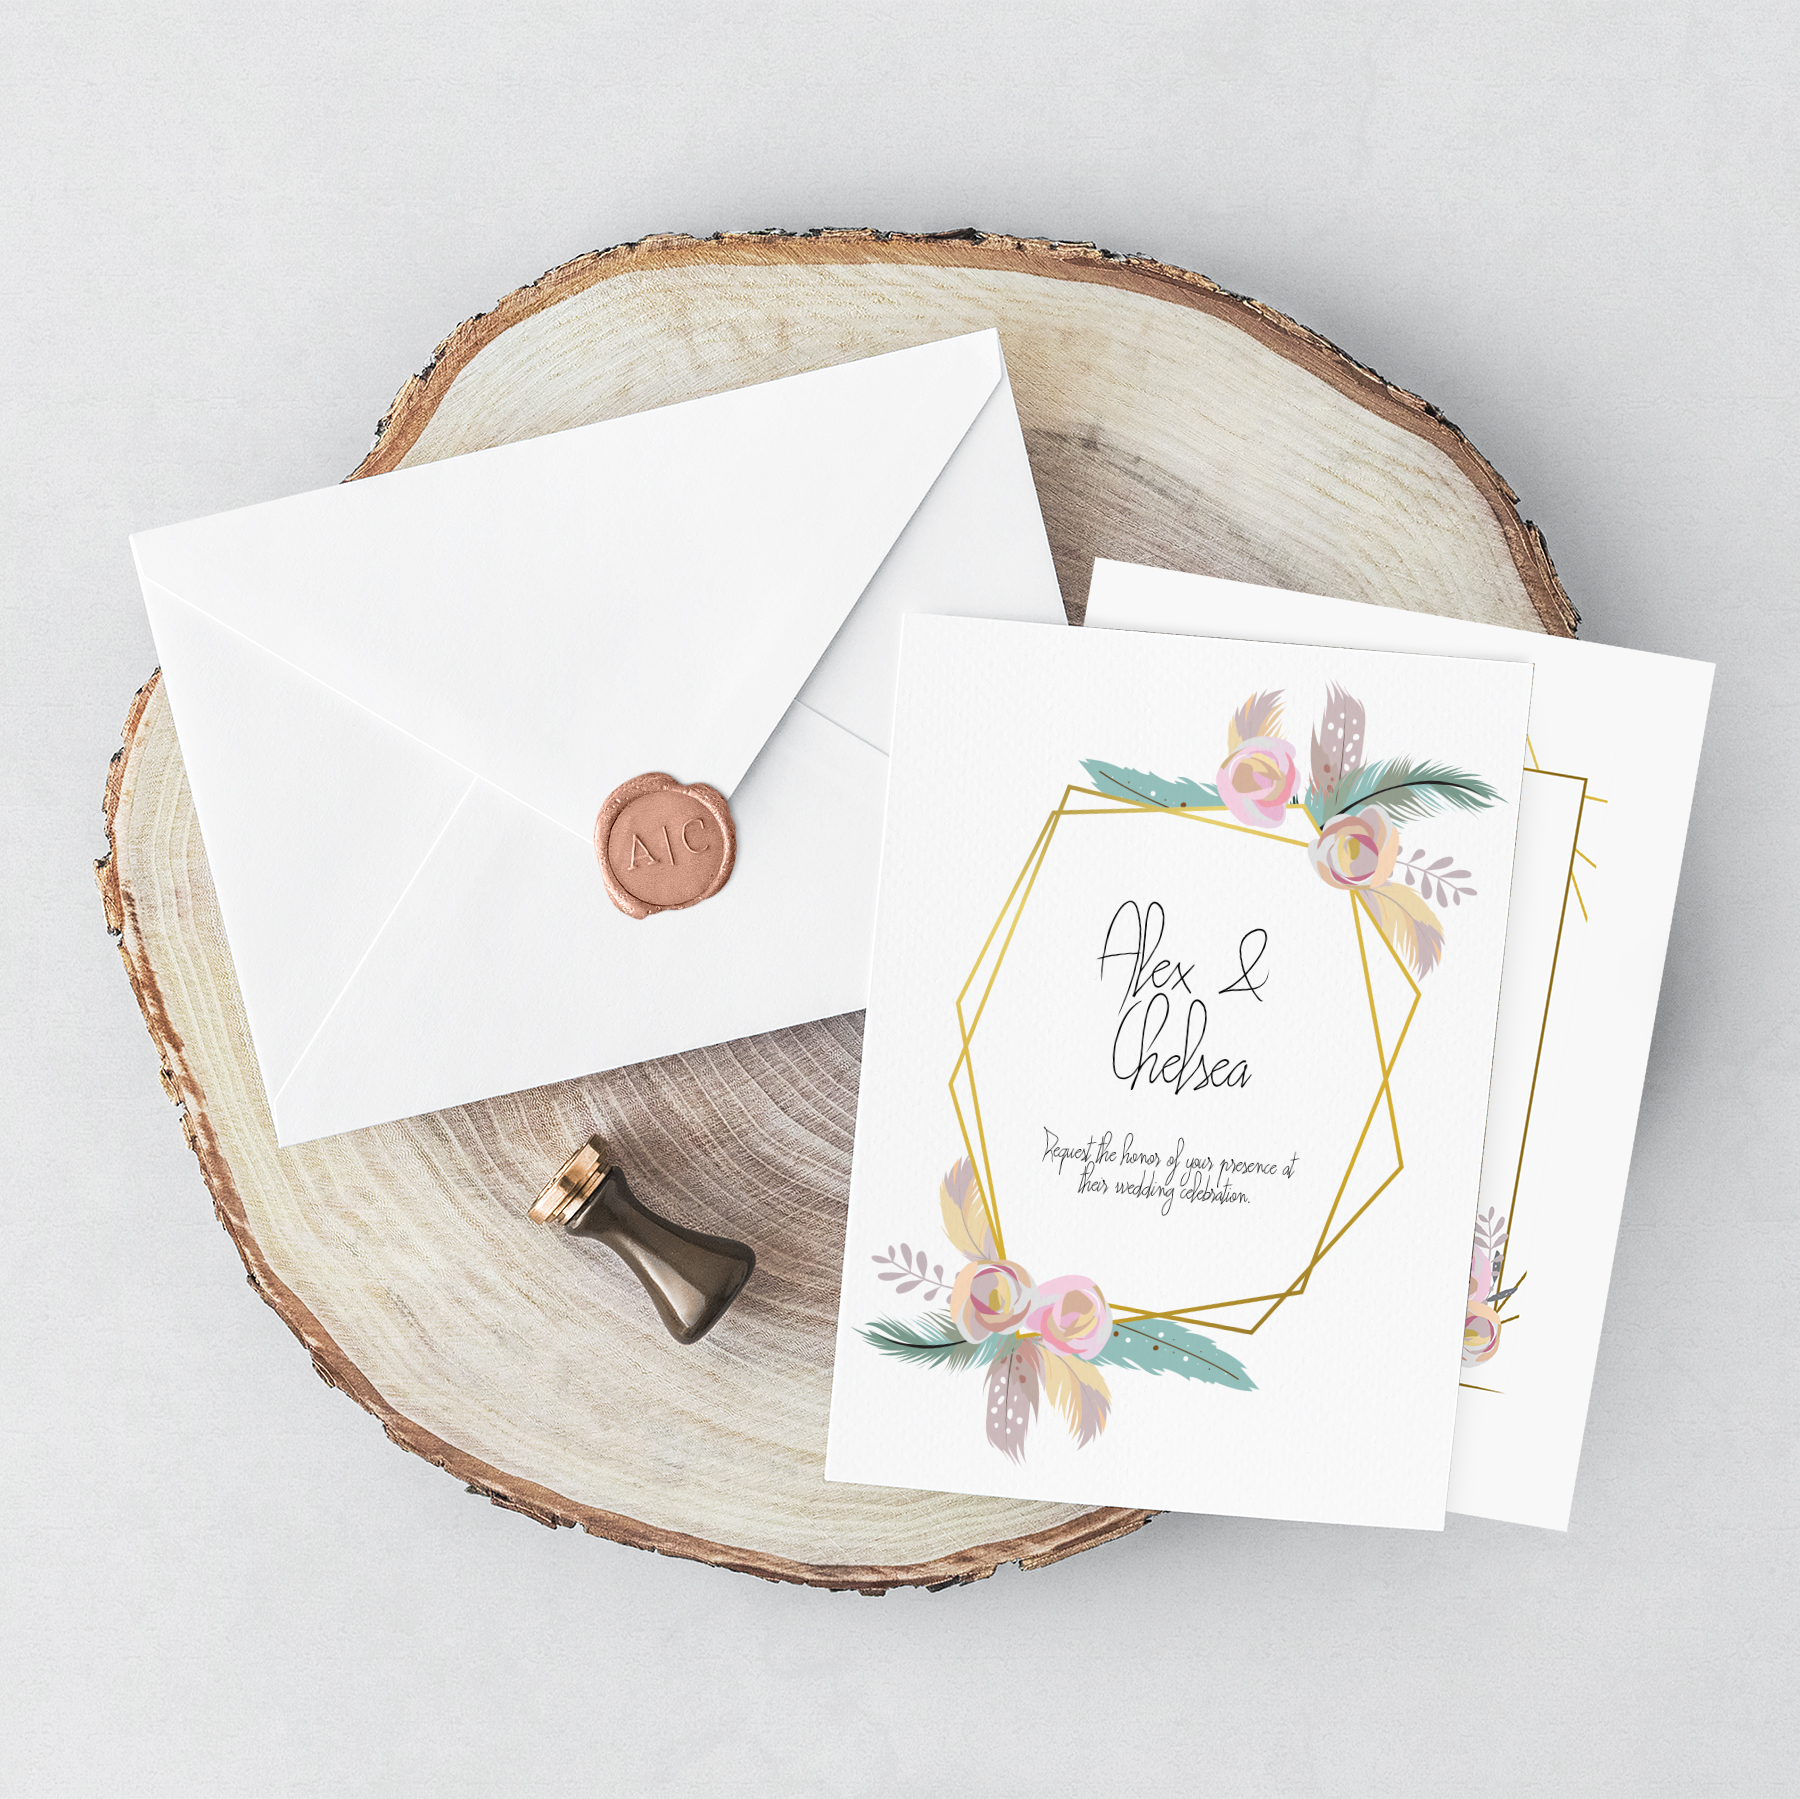
After years of admiring well crafted fonts from a distance, I decided to get up close and personal by creating my own. The result is Happy Thoughts, a hand printed typeface with extras like ligatures, stylistic alternates, and multi-lingual support. You can grab it for just $12 at Creative Market or in my shop. Happy fonting!

Coming Soon to CreativeLive

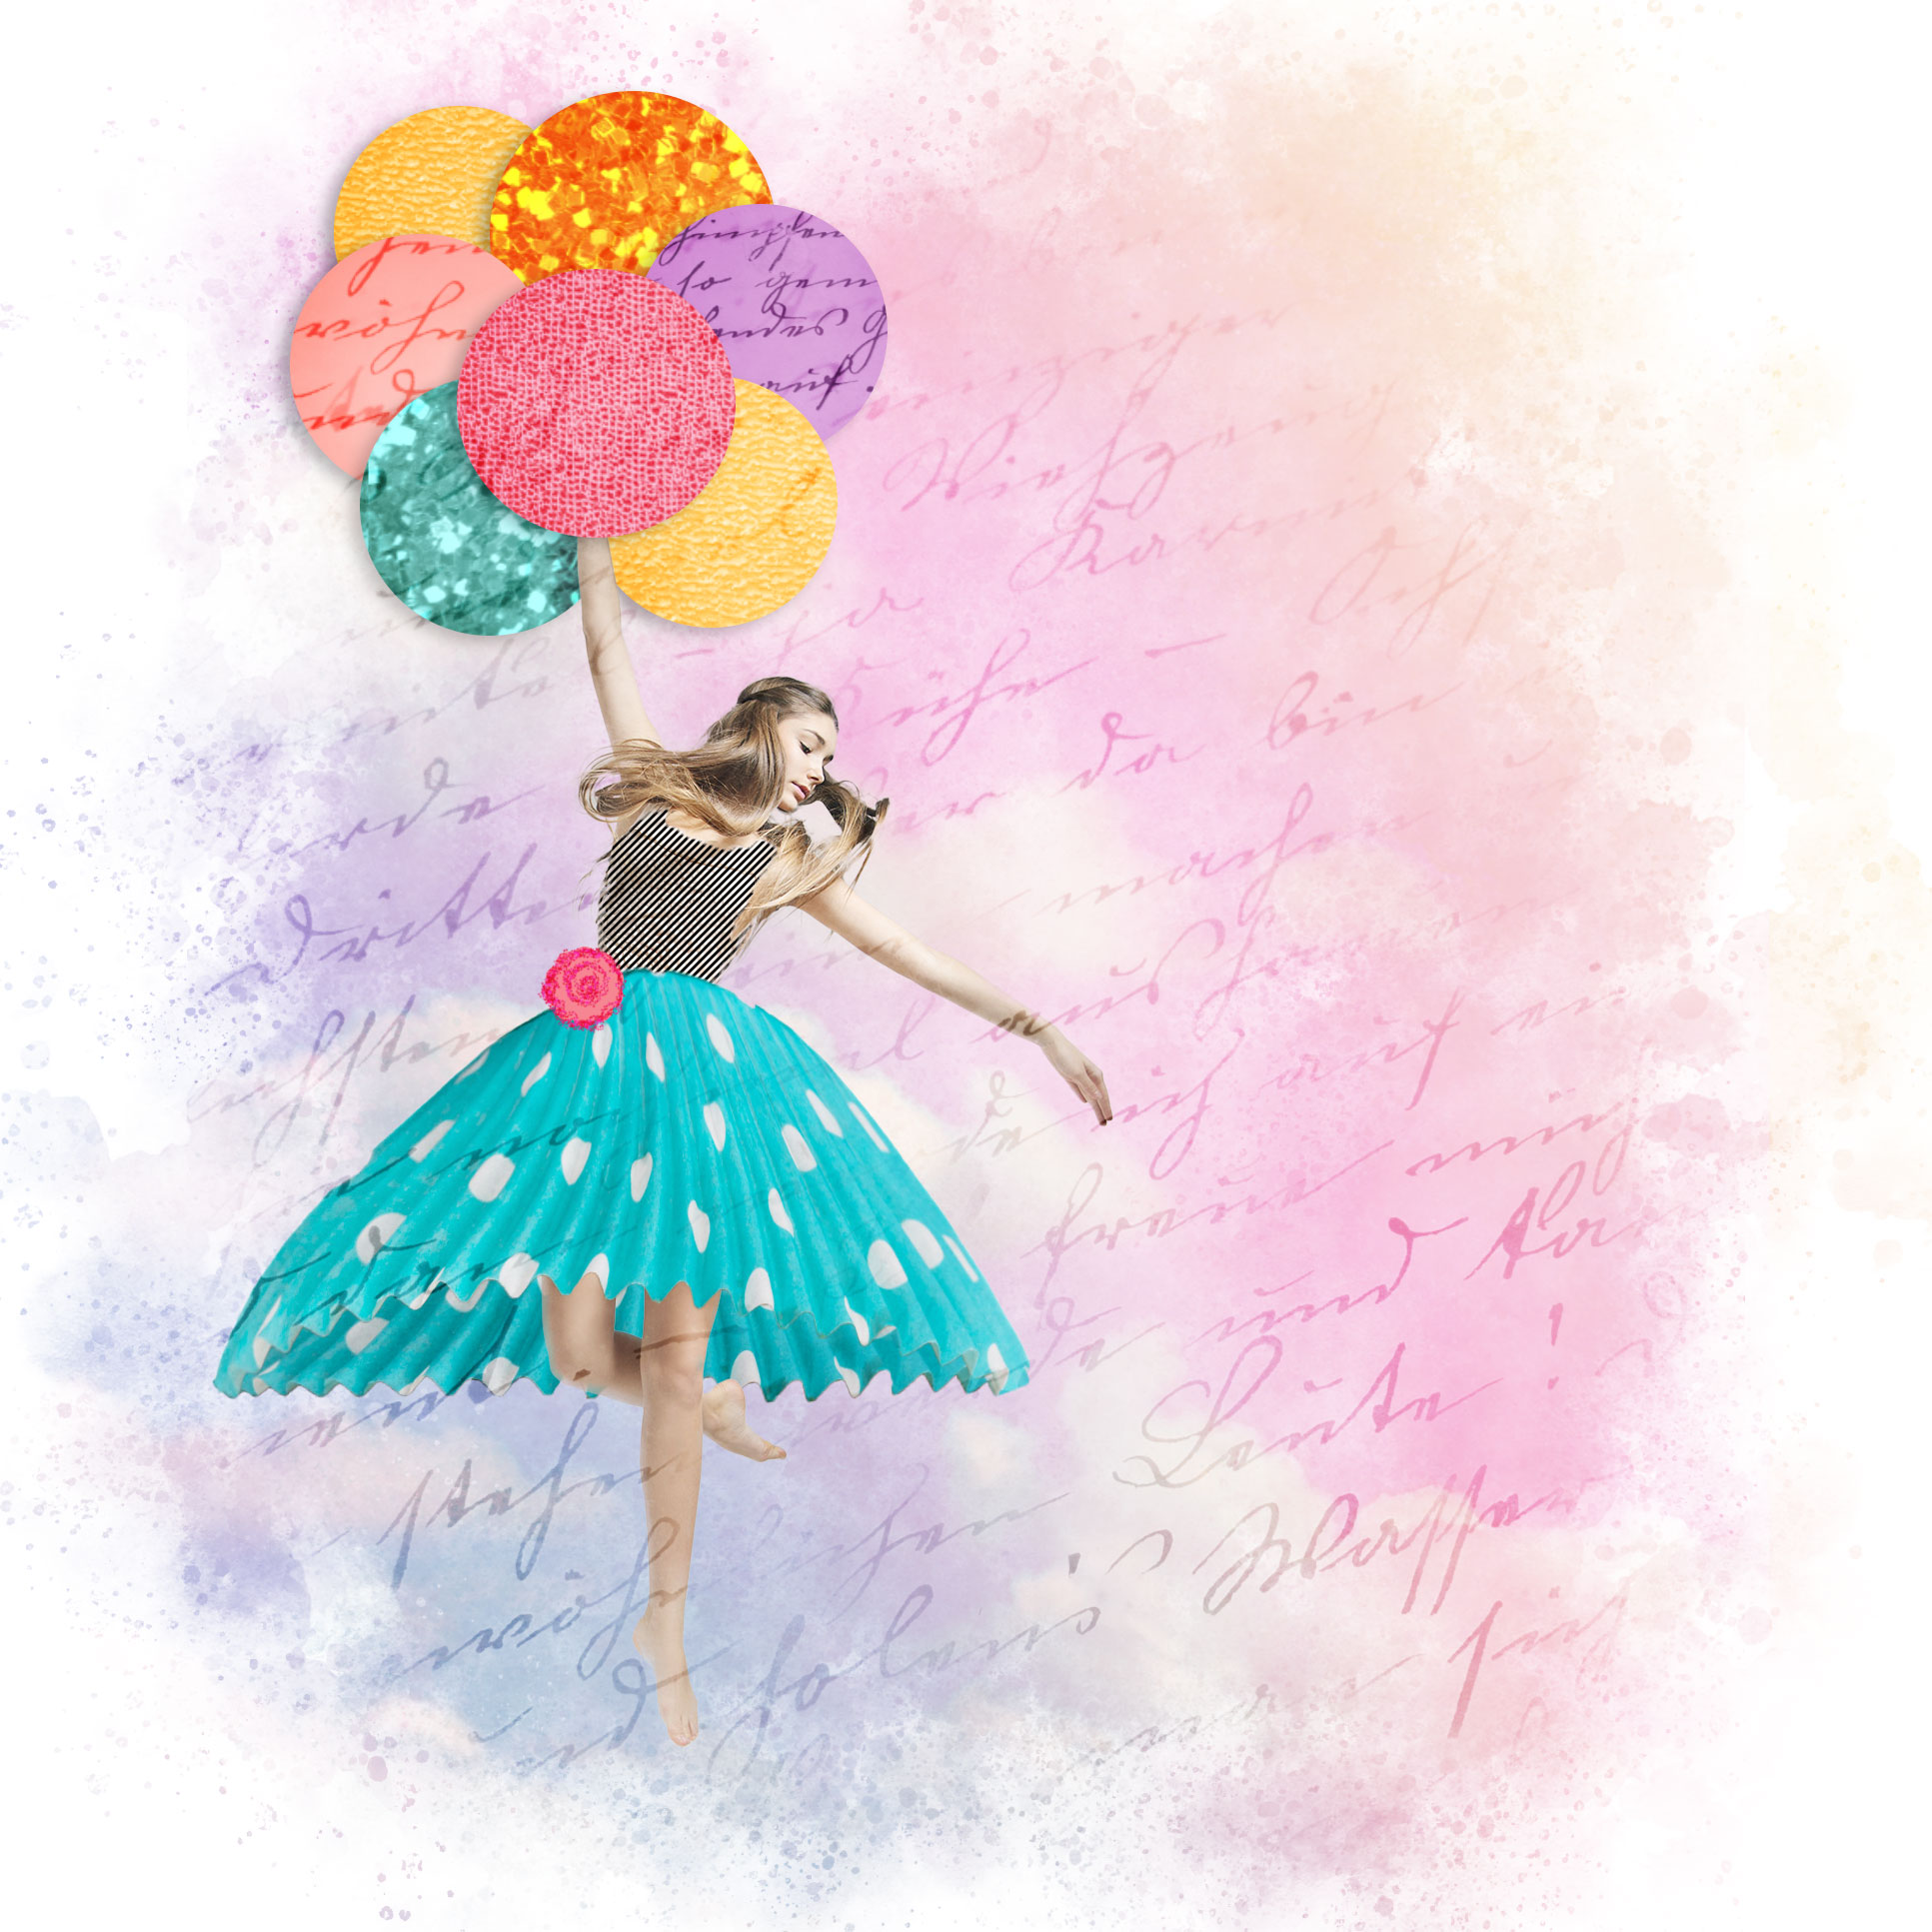
I've got several new courses in the works for CreativeLive! One is about working with Adobe Spark, another is about creating Stylized Portraits in Photoshop, and the third is about working with Adobe Stock in Illustrator.

Here are a few images from the different projects we'll be creating—I hope you'll join me and follow along! The courses will be broadcast live on Tuesday, September 25th, after which you'll find them among my others in the CreativeLive course catalog.

A Cross Stitch Here, A Cross Stitch There

If you haven't tried cross-stitch before, you may be surprised to discover that it's easier than you think. I fell in love with the adorableness of Stitch People, and pretty soon found myself stitching up entire family portraits (for my and my husband's side of the family) for Mother's Day. 

The process was fun, relatively quick, and totally painless (except for a few needle pokes here and there). Since making the initial family portraits, I've made a few as gifts for friends and some other non-portrait cross-stitched pieces for other projects.

If you're new to the art form, Lizzy makes it easy with super simple starter kits and tons of patterns and inspiration, some of which are entirely free. All you need to get started is some Aida fabric, a hoop, some floss, a needle, and some scissors. Then just like that—you're a cross-stitcher!

stitch-people-family-portrait

Free Googly Eye Appliqué for Valentine's Day

monster-love Zé has a thing for googly eyes, so a few weeks ago I picked up a set of large, 4" eyes for him. When I got home, Emir mentioned that they'd be fun to have on a shirt—so here we are, a boy-friendly Valentine's design!

My idea was to incorporate the eye in a way that's removable for washability and for when Zé decides he's had enough and just wants the eye off. So when you take the googly eye out, there's another appliqué eye underneath. It's one shirt, two ways!

Supplies To make your own, you'll need:

  1. Fuse the Wonder Under to your fabric and cut out the pattern pieces.
  2. Starting with the horns, peel off the paper backing and fuse each one into place.
  3. Fuse the monster body in place being careful to make sure it slightly overlaps the bottoms of the horns.
  4. Fuse the appliqué eye-white in place on top of the monster body.
  5. Decide on the desired placement and fuse the pupil onto the eye.
  6. Using a pen or marker, trace the mouth in place (it may help to place the pattern piece behind the shirt and hold the whole thing against a window) then position the teeth and fuse in place.
  7. Sew a line of straight stitches around each of the different pieces, changing thread colors as needed.
  8. Using a satin stitch (a tight zig-zag), stitch along the mouth you traced in step 6, making sure your stitching covers the base of the teeth where they overlay the mouth.

At this point, you have a cute shirt! You could stop here, but if you want to add the googly eye, read on.

Adding the Google Eye The secret (ok, not really) is using ribbing to form somewhat of a pocket to hold the googly eye in place. The eye I used measures 4" in diameter, making a circumference of roughly 12.5", so I cut a 2 x 9" strip of ribbing. You want the ribbing to be shorter than the actual space it will occupy so it has to stretch.

  1. Cut the ribbing to desired size and with a zig-zag stitch, sew the long edge together (right sides facing).
  2. Turn the tube right side out, press, fold in half and sew the short ends together, forming a circle.
  3. Divide the circle of ribbing into fourths by placing a pin at the top, bottom, and center of each side of the circle. Do the same on the white eye on the shirt, dividing the eye into forth with pins.
  4. Place the ribbing in place around the eye of the shirt (with the raw edges facing inwards), matching up the pins to evenly distribute the ribbing. Pin in place using additional pins as needed (I like to add another pin between each of the existing pins, dividing the eye into 8ths to make sewing easier). Check out this pic to see an in-progress example from another google eye shirt I made.
  5. Using a zig-zag stitch, sew around the inner (raw) edge of the ribbing, making sure the stitching stays outside of the white appliqué underneath (to prevent it from being seen outside of the ribbing).
  6. All done! Flip the ribbing inwards, press, and pop in the google eye.

Don't forget to tag me on Instagram (@kplicanic) so I can see your handiwork. Have a Happy Valentine's Day!

Design Inspiration with Creative Market Freebies

creative-market-inspiration-freebieCheck out this darling print design made with assets from this week's Creative Market freebie downloads! Pick up the Happy Bees and Scandinavian Christmas Pack files for free now through Sunday. And if you're loving the hand letters script font shown here (the text says, "may your days"), it's called Loveluck, and it includes a collection of gorgeous swashes (shown here as the swirl leading in to the letter "m"). It's part of the incredible Hand Lettered Fontbox Collection that has quickly become many of my go-to favorite fonts. And it's currently 90% off!
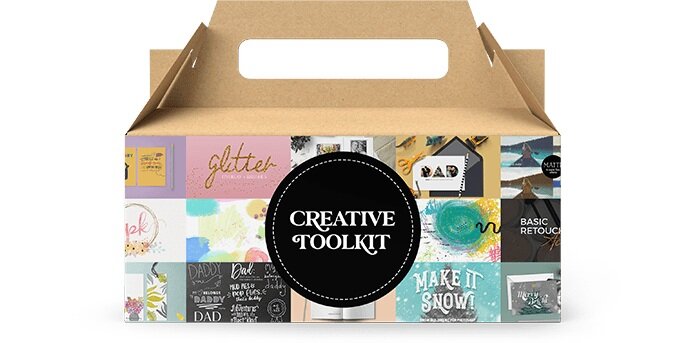
There's still plenty of time to make beautiful things for the holidays, but don't wait too long! Grab some hot chocolate, light up the fireplace, and settle down with your favorite tunes and a pile of pixels. xoxoxo