Coming Soon to CreativeLive

I've got several new courses in the works for CreativeLive! One is about working with Adobe Spark, another is about creating Stylized Portraits in Photoshop, and the third is about working with Adobe Stock in Illustrator.

Here are a few images from the different projects we'll be creating—I hope you'll join me and follow along! The courses will be broadcast live on Tuesday, September 25th, after which you'll find them among my others in the CreativeLive course catalog.

How to Turn Your Instagram Photos into a Custom Printed Book

*** This post has been updated to make it even more awesome! *** Let's be real.

I appreciate scrap booked labors of love as much as the next gal, but honestly, if my future (yet-to-be-conceived) children are to have any chance of having their memories live on in an analog format, I can't carry on with the fantasy that someday I'll make scrap booking a regular part of my life. Maybe for a special gift, but definitely not a monthly/yearly thing.

Thankfully, I found a painless alternative.

I've been stewing about how I can make it easy to make sure that our family memories (and bits of daily life) have a life beyond a dusty ol' pile of hard drives.

(This is one of my favorite What the Duck comic strips by the genius Aaron Johnson)

I generally recommend that each time you download photos (whether from your phone, or your "real camera"), pick your 10-20 favorites and order some prints. When they come, just drop them in a photo storage box. Getting fancy with glue and scissors is nice, but totally not required.

Of course, if you're like me, as diligent as I am with taking care of client images, when it comes to my own personal photos—I'm lucky if I download them 3 or 4 times per year. In fact, I've gotten to the point where—like lots of folks—most of the time, the only camera I have with me is my phone.

And the most action my personal photos ever see is if they happen to get posted online via Instagram, etc. So it made the most sense to find a way to make a book from my Instagram images.

And since sifting through my entire photo collection in search of the images I happened to post to Instagram is not likely to happen (like trying to find a needle in a haystack), I was on a mission to find a better way.

Enter Blurb. There are a lot of book-making solutions out there (especially when it comes to Instagram and other social photo sharing sites), but many leave much to be desired in terms of design flexibility, ease of use, and product quality.

Having been a Blurb fan for years, I already knew that I wanted them to print my books, but the online tool they provide for printing your Instagram images has some sort of bug that jumbles the images out of order if you try to add more than the default of 52. And since I was planning to include roughly 250 images, this was a serious concern. (This is really too bad, as otherwise this tool would be so great!)

Blurb also makes a book plug-in for Lightroom, but after playing around with it for awhile, though the interior page layout options had what I wanted (a single square image per page), I found the cover layout and material options to be limiting (compared to the choices Blurb offers elsewhere) and ultimately I wasn't able to cobble together the book in the specific way I wanted. So, I turned my attention back to Blurb's free desktop application (called BookSmart).

Here's the Step-by-Step

  1. Download your photos from Instagram. You can use something like InstaArchive to download a .zip file of your entire collection. After you make your first book, I suggest creating a recipe with IfThisThenThat (IFTTT.com) so you can have your instagrammed images sent to your DropBox Account where they'll already be waiting for you in a nice organized folder (this is my favorite method). Unfortunately, they'll only be sized to 612px x 612px. Don't panic. We'll deal with this in step 3.
  2. Sort and renumber the files. Use Bridge or Lightroom (or whatever works) to renumber the images. They should already appear within Bridge in chronological order, but if with long goofy file names, there can sometimes be problems with file order, so I always make sure to renumber.
  3. Batch upsize them. Bummer that the archived or DropBoxed images from Instagram are so low res. (it will be ok, breathe!) Use a quality plug-in to scale them up without tearing a hole in the universe. I use Alien Skin's Lightroom plug-in called Blow-Up (they have a free trial as well as a verion of the plug-in for Photoshop). I size my images big enough to print 4x4 @300ppi (1200 x 1200 pixels).
  4. Decide on a page layout. Choose one of the existing layouts in Blurb's desktop application and drop in your images. Or, for more control—build your own layout.

    I wanted a single image per page with plenty of white space around it, so I wrote a Photoshop action to build out each 4x4 image with a nice white background to fill out a 7x7 page. You can write your own, or download my custom action here (for a 7x7 book). Then batch run the action on the whole folder via Bridge.

  5. Design a cover. You could use InDesign (recommended), Photoshop, or do it directly in BookSmart (Blurb's free desktop application). I'm a control freak who wants a consistent cover design for all my books, so I designed accordingly (using InDesign) and will swap the images (and colors) with each "edition." I also included a place for volume/date information to note the time span for each book. For example, Vol. One reflects the fall of 2011 through the spring of 2012. Additionally, I included a photo of both Emir and I on the back to quickly document how we change over time. In the future, that image be a whole family photo. If you have InDesign CS4 or newer, you can download my front/back cover InDesign templates here. Drop in your own photos, edit the text, and export to jpg.
  6. Put it all together in Blurb's BookSmart. It's easy to load the photos, select them all, then drag and drop onto the first blank page and you'll see the rest will auto-complete, building your book in minutes, no matter how many pages you have. (Their limit is around 284 pages or so, so if you have more than that, plan to split it across multiple books.)

Enjoy!

 PS: Save 20% on your Blurb books through Dec. 8th with the code ANY20

I'm Hitting the Road... Let's Meet Up!

2013 is off to a busy start! It's conference season in the industry, and I'm thrilled to be presenting at three of my faves. If you have plans to be at one of them—I hope you'll join me and come say hello!

I'll be teaching various combos of my Wicked Fast Workflow and InDesign Basics at the following international photography events:

SWPP | London Jan. 11th & 12th

ImagingUSA | Atlanta Jan. 20th

Also in Atlanta: I'll be speaking at the Mpix Pro booth at 1pm on Jan. 20th and at the SMUG Mug group at 8:30pm on Jan. 20th

WPPI | Las Vegas March 13th

Drop me a note and let me know if I'll get to see you!

Creating a Facebook Timeline Cover

Have you seen Adobe's new SWAPP publication yet? (It's FREE and available here via iTunes.) Check out the 2nd issue (blue cover) for my quick video tutorial to learn how to make a Facebook Timeline Cover using a lightning fast combo of ID, PS, and BR! Don't have a tablet? Watch the tutorial video here on YouTube.

Creative Cloud: What is it & Why is it Awesome?

If you're in any way connected to the creative industry, you've surely heard about Adobe's Creative Cloud by now. And if you're like a lot of people, you're still not entirely sure exactly what it isIn a nutshell, it's a new way of accessing Adobe products and it comes with various benefits, but it requires a bit of a paradigm shift. Allow me to explain...

Up until now, you purchased Adobe products either alone (such as buying just Photoshop by itself), or as part of a collection (which would include several bundled products like Photoshop, InDesign, Illustrator, Dreamweaver, etc.). You would then own these for as long as, well... forever really. The products were either shipped to you in a box with an install disc or you downloaded them and carefully stored the serial numbers somewhere for easy access in case you find yourself needing to rebuild your hard drive or migrate to a new machine.

The advantage of the old system was really just that you owned your software license outright for all of eternity, which allowed you to make a sizable investment (Photoshop just by itself ran around $700), and then use it for as long as you want. Regardless of how many new releases came out, you could hum along using your (now outdated) version to your heart's content. It was expensive up front, but you could get some serious mileage out of the software until eventually caving in and upgrading (which would usually be necessary at some point as older versions eventually aren't supported and making your computer play nice with other professionals in the industry often requires a somewhat current version, meaning that even the most stubborn among us can only hold out for so long).

The disadvantage was that upgrading always meant a bunch of time and more money, and as a result, it often got put off. Waaaay off. It wasn't uncommon for professionals to be limping along on software that was often 5 or more years outdated.

Additionally, because of the expense, people would often opt for only a single piece of software, bending the laws of nature in an attempt to make that one piece of software (namely, Photoshop) do things it was never intended to do like multi-page layout and design like wedding albums, product catalogs, and company newsletters—for which InDesign is far better suited. You name it, I've seen it happen. This was not only expensive in terms of the extra work and hassle it created, but it held people back from developing new skills on new software platforms. And to put it quite simply, it was just plain painful to watch. I used to teach Photoshop on a seminar circuit and when I learned that people were using Photoshop to build annual reports and such, I was nearly speechless and felt like crying on their behalf. What a nightmare! But that's what happens when upgrading requires an act of Herculean strength to move corporate and bureaucratic mountains just to get budgets approved, etc.

Enter Creative Cloud.

Adobe's new subscription based plans mean that for less than $600/year (substantially less for new subscribers, and students/educators/teams get special discounts too), you can have the latest and greatest version of not only Photoshop, but the entire suite of Adobe products. And instead of owning a box with an install disc, you own a web-based license which enables you to download any and all of Adobe's products and use them for as long as you maintain your subscription. Upgrades and updates happen automatically.

This makes it easier to budget (your finance department will thank you!) and comes with a whole slew of benefits including:

  • 20 gigs of cloud storage making file access a piece of cake
  • online file sharing that works even if recipients aren't cloud members (talk about flexibility for working with clients!)
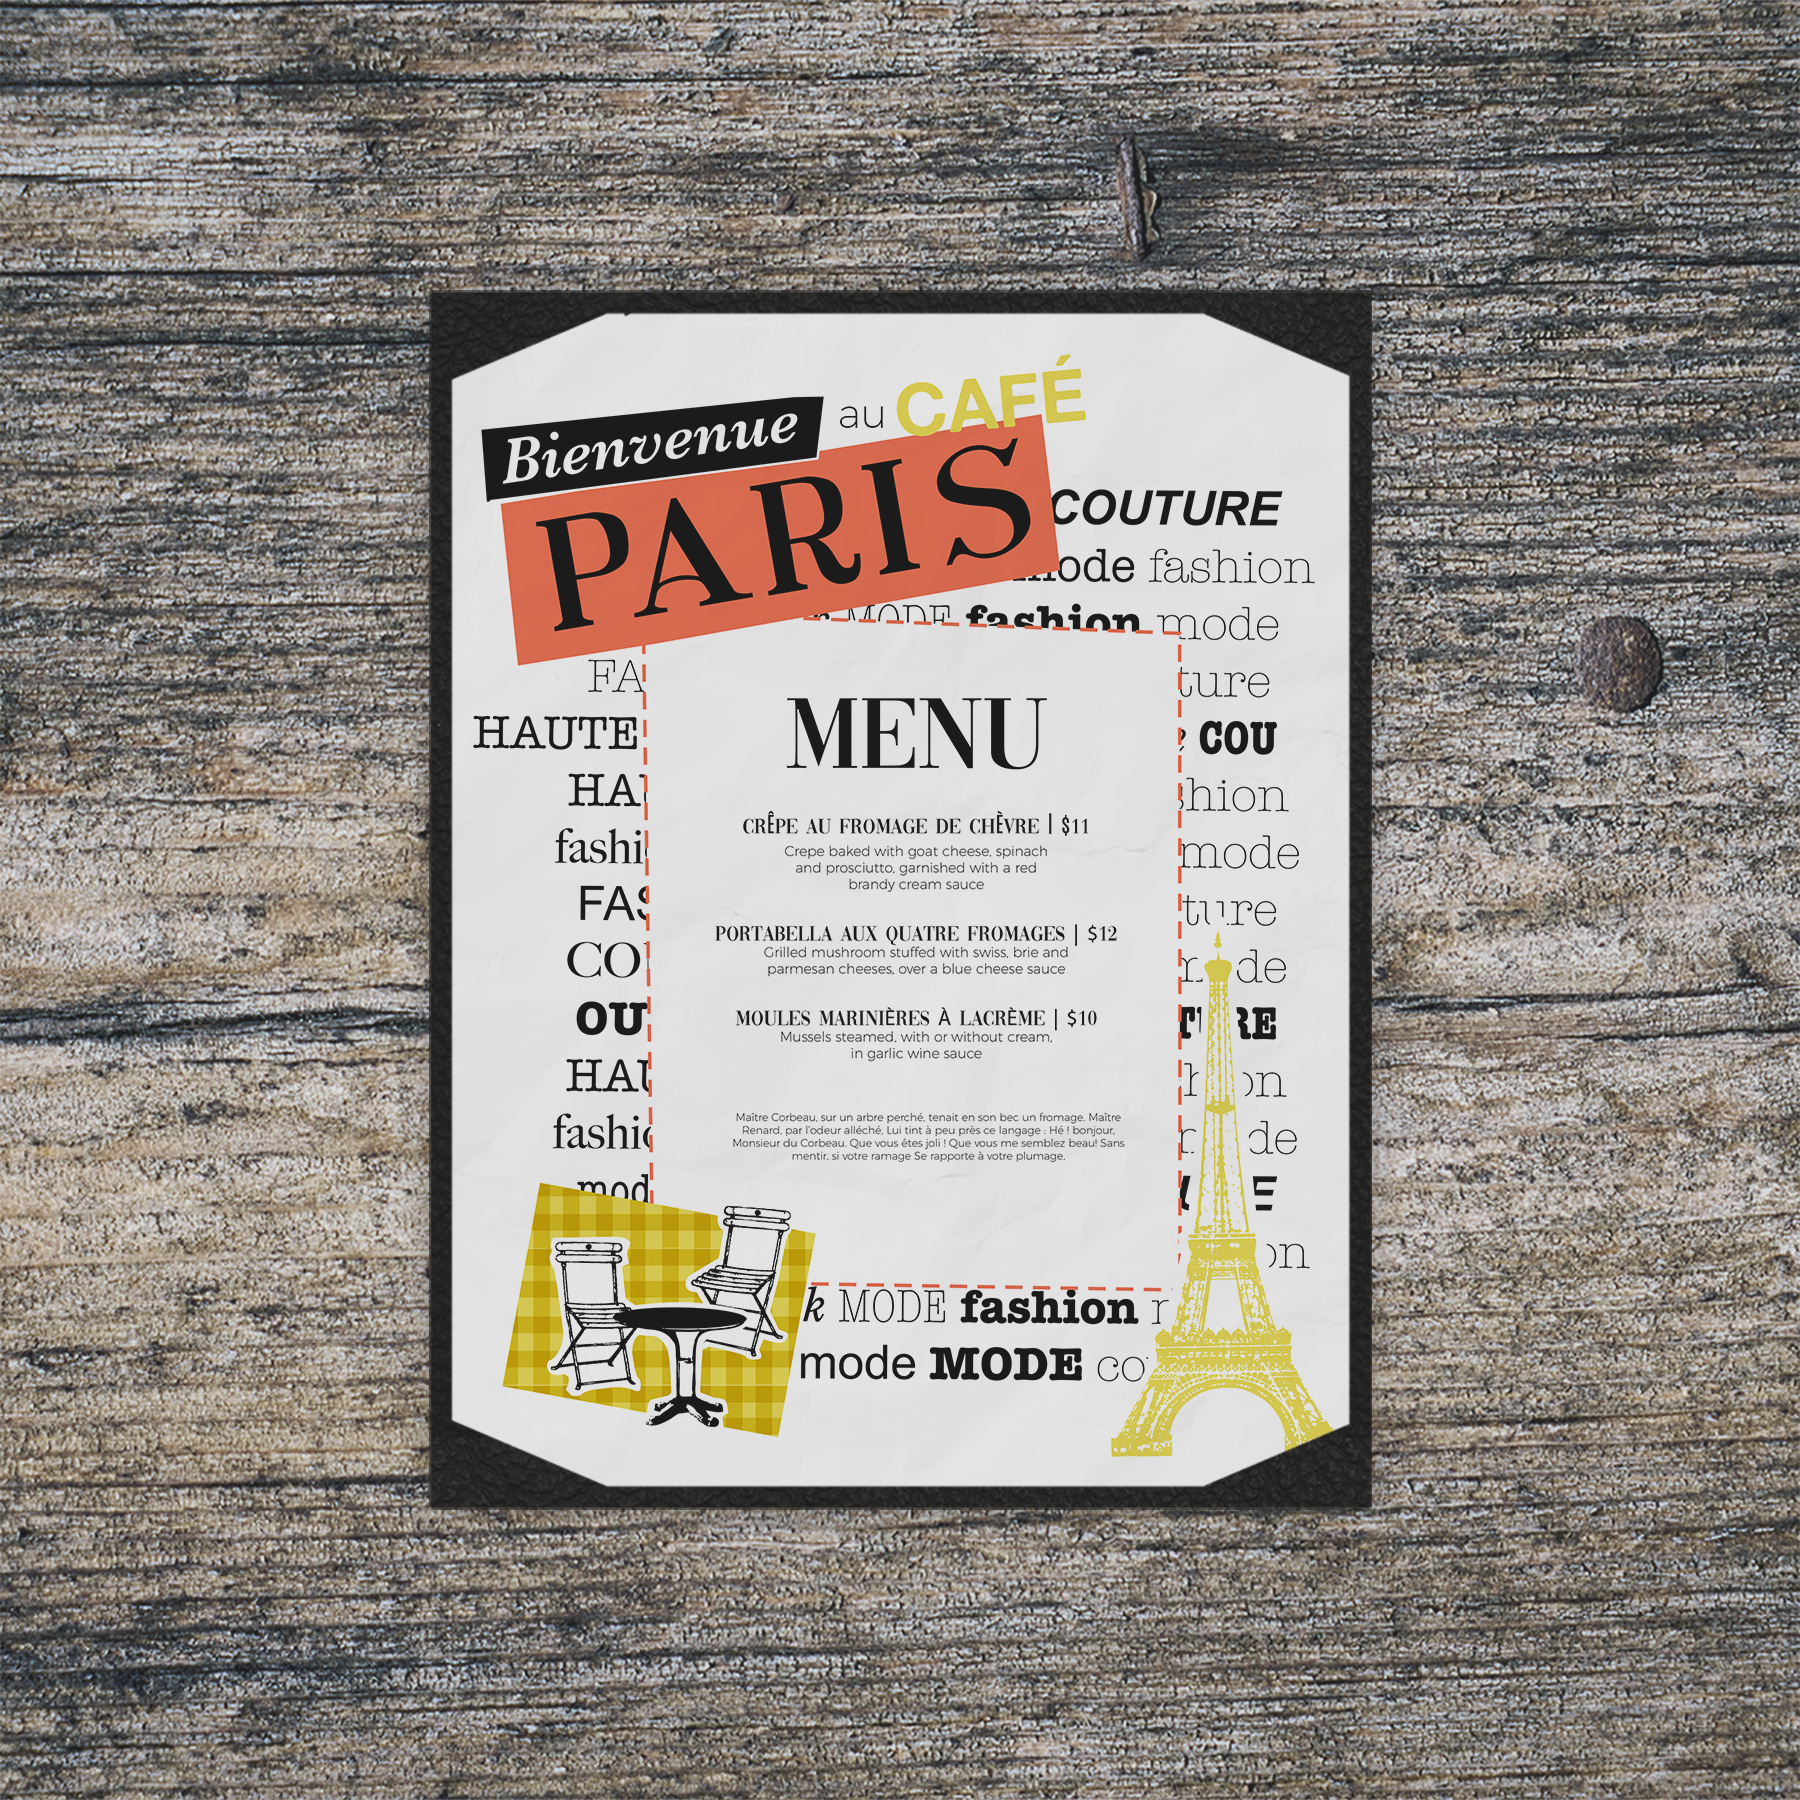
  • access to Adobe's Digital Publishing Suite with a limitless supply of single edition licenses for publishing iPad apps and the like
  • A stellar tool chest to tackle any project. No more trying to make Photoshop do it all! (As a devout InDesign evangelist, I can honestly say there are no more excuses to hold you back from jumping whole-heartedly onto the InDesign band-wagon!)

The paradigm shift In essence, instead of "owning" your Adobe products, you're effectively "renting" them. This is the paradigm shift you'll have to make in order to cross over into the new and fluffy world of cloud licensing. From people I've talked to, this is the part that feels difficult to swallow. I too prefer to own rather than rent in most cases, but when it comes to having access to all the software in the current version, plus all the added benefits, I'm willing to shift my paradigm.

RequestsThe "cloud" is new for Adobe, and surely it will take time for people to cross over and in the meantime, I imagine that Adobe will continue to refine the way it all works.

Personally, I'd like to also be able to pay a year at a time rather than monthly. It works out to be the same either way, but psychologically I'd rather pay in a chunk rather than every month.

I'd also like to see a reasonably inexpensive way to add a small number of additional licenses (for a family, not just a team office) to avoid having to pay all over again in order for kids/spouses to have access. (Currently, each subscription comes with 2-licenses, which may work well for many people, but when Emir and I each have a desktop and a laptop, we need a minimum of 4. Or, I suppose we could evolve to work exclusively on laptops? It's a possibility I guess...)

Either way, I look forward to how the cloud continues to evolve and the new opportunities it creates for creatives. :) Onward!